NOTE: I apologize, but I managed to accidentally delete my whole photo gallery on my phone, which included all of the photos from all stages of this process, up until the final assembly. (This goes for the Mill, Router, And partially on the Final Project.)
Machines Used^
The Face/Back plate (Laser Cutter)
|
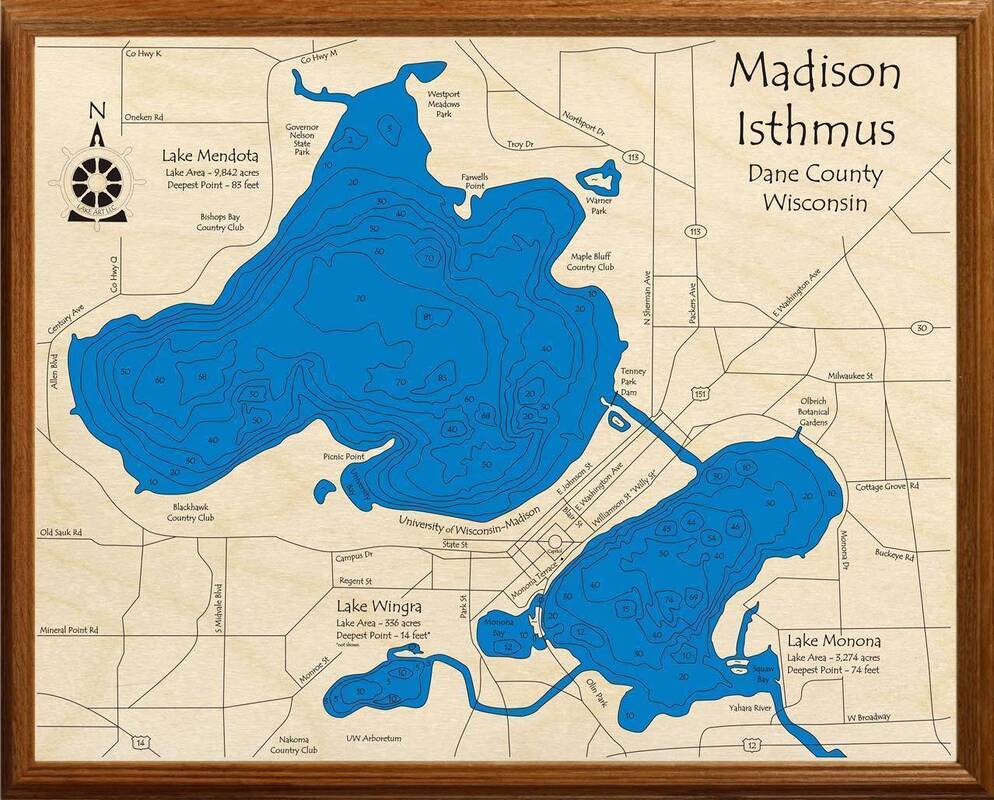
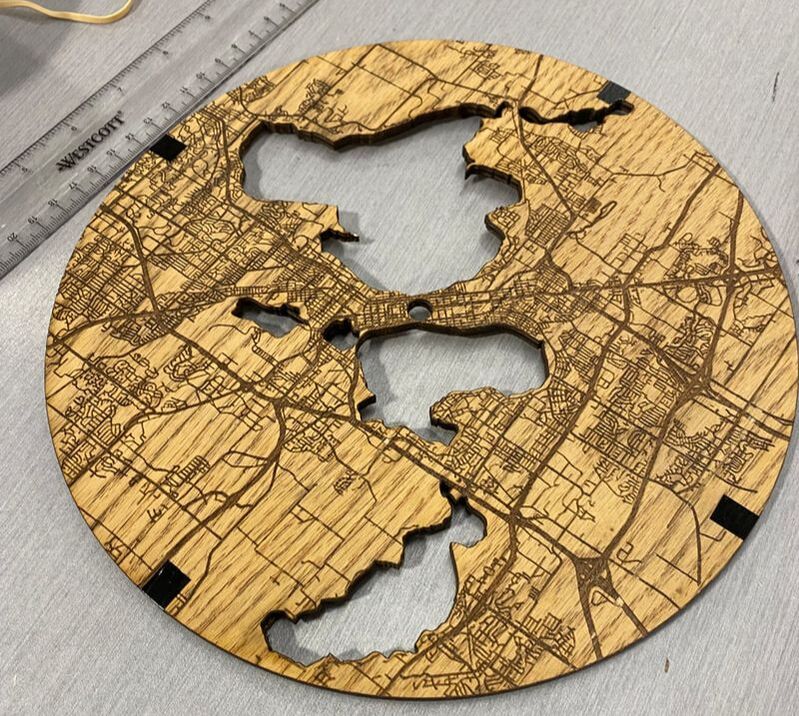
the clock In my clock, I wanted to create something similar to one of those topographic maps of places made similarly to this clock. I also tried to keep it from being too over complicated, opting for ticks instead of numbers, also simplifying my vinyl weeding time
|
|
|
[Lost Photo]
|
The first thing I did was import a photo of just the lakes/bodies of water. (I believe this was from google maps app because I wanted the simple color scheme for tracing and the detail of an actual map, rather than a decorative design, with less detail in the lakes, such as the one above.) This was because I would be able to remove any small bodies of water that were not necessary to the focal point of the design.
|
|
After that, I took another photo from similar but more detailed version of the first photo because of the detail and lack of city names (for simplicity). Due to the difference in maps though, there's a slight misalignment in some places.
|
[Lost Photo]
|
|
[Lost Photo]
|
The back panel, because I don't have a wide enough piece of acrylic, was done in two parts. I explained earlier how I lost all my photos, this section was the only one done before I deleted them.
|
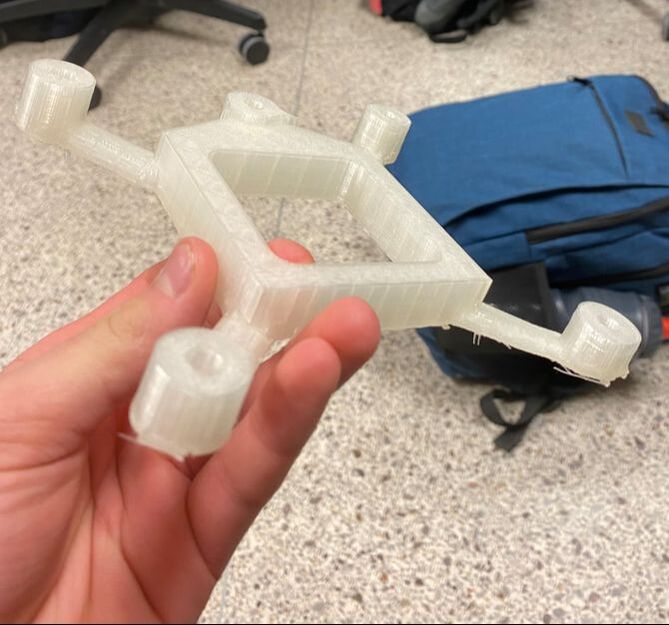
Back Assembly (3D Printing)
|
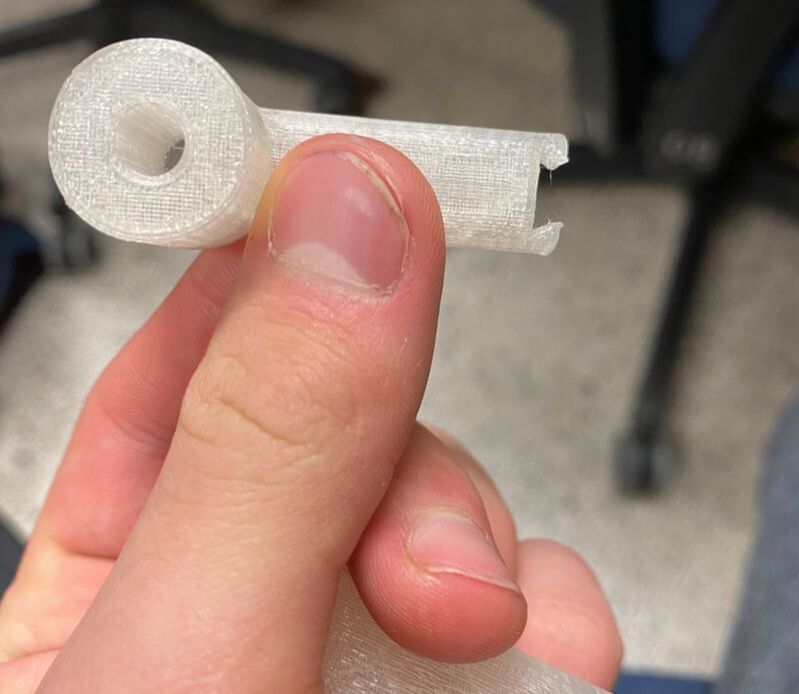
In splitting the back piece I needed a way to secure the two halves of the back acrylic panel, hanging the clock on the wall, and also in the future I may make a border around the outside the clock, so I designed attachment points for it too.
|
|
|
In Onshape, it is easier to work with multiple different parts at once, so I opted to make it on the software I was more comfortable with. The first step was creating a border around where the clock would sit.
|
|
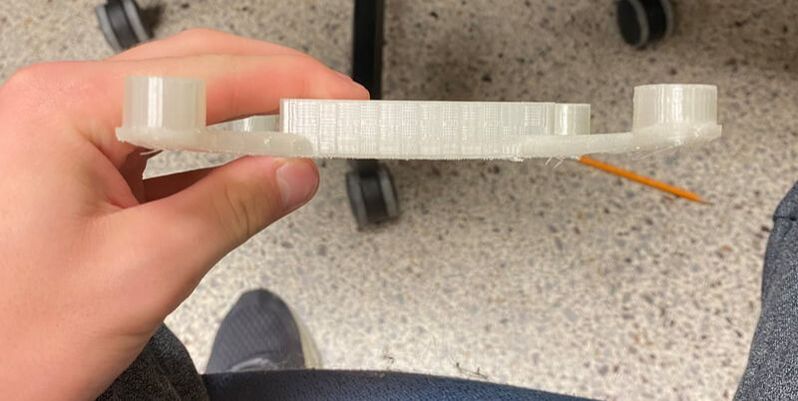
After that, I made attachment points for the back panel to the back assembly if I decide to use screws instead of hot glue eventually. In doing so, I also added the attachment points for extensions.
|
|
|
There were a few things I decided not to include, even though I designed them, one were the extensions talked about in the previous paragraph, the other was a back piece for the area behind the clock parts.
|
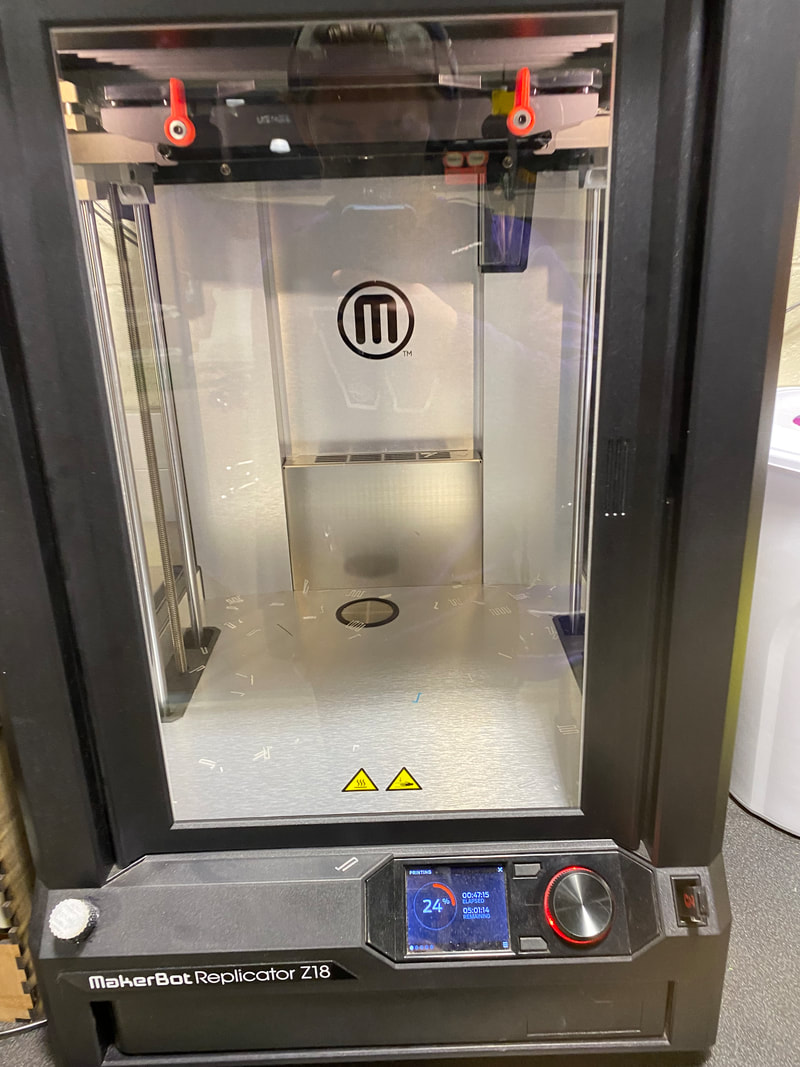
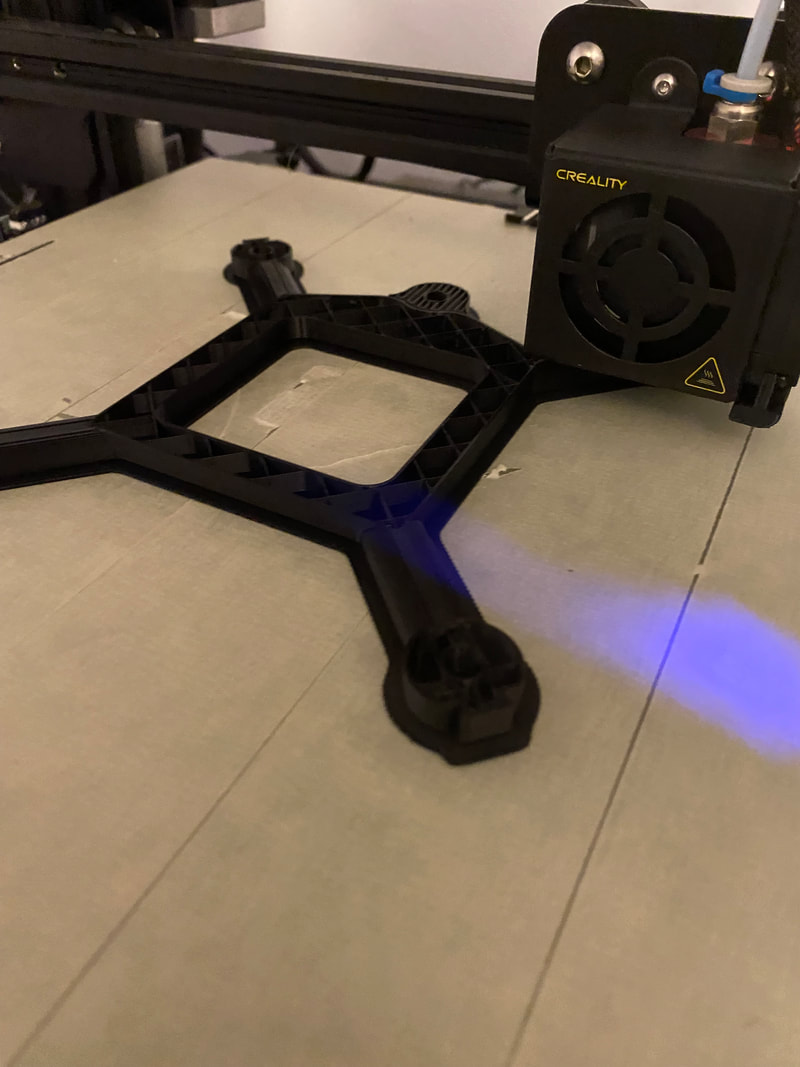
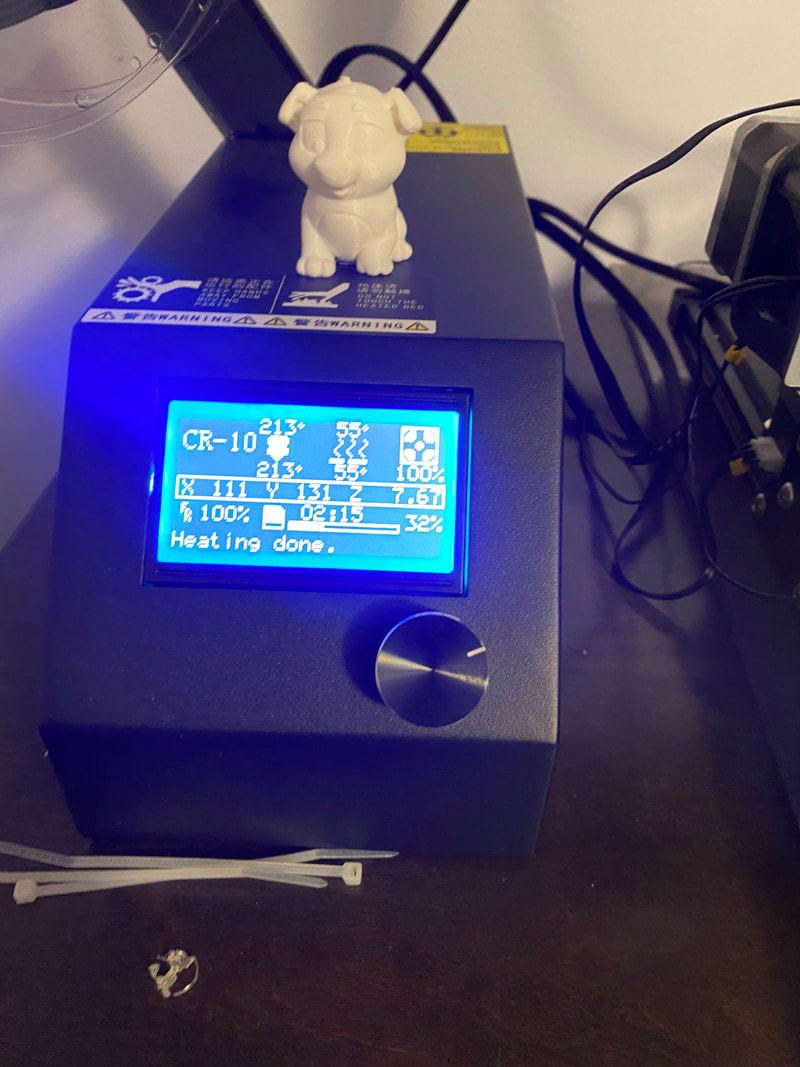
I also printed one at home because of the quality of the one at school. this was some pics of it printing and done. As a bonus, it was flat.
|
|
|
Hour Notches (Vinyl)
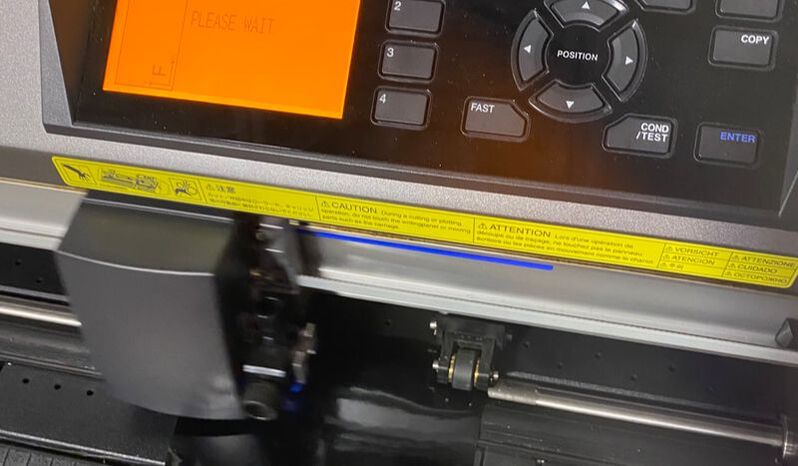
On the second to last day I realized I had a problem. I did not have a third machine for my project. I had ideas for the vinyl cutter, but after looking at the clock face, There was no way to tell what hour it was. I designed some basic rectangles that I could wrap around the edge and place at every hour.
|
In illustrator, I designed one rectangle at 0.375 in x 1 in and another at 0.2 in x 1 in. I then copy/pasted them so I had 4 big ones and 8 small.
Pictured is the four big notches. To place the small ones correctly, I measured the perimeter from one notch to the next and divided it by 3. (8/3=2 2/3)
|
|
Final Project
|
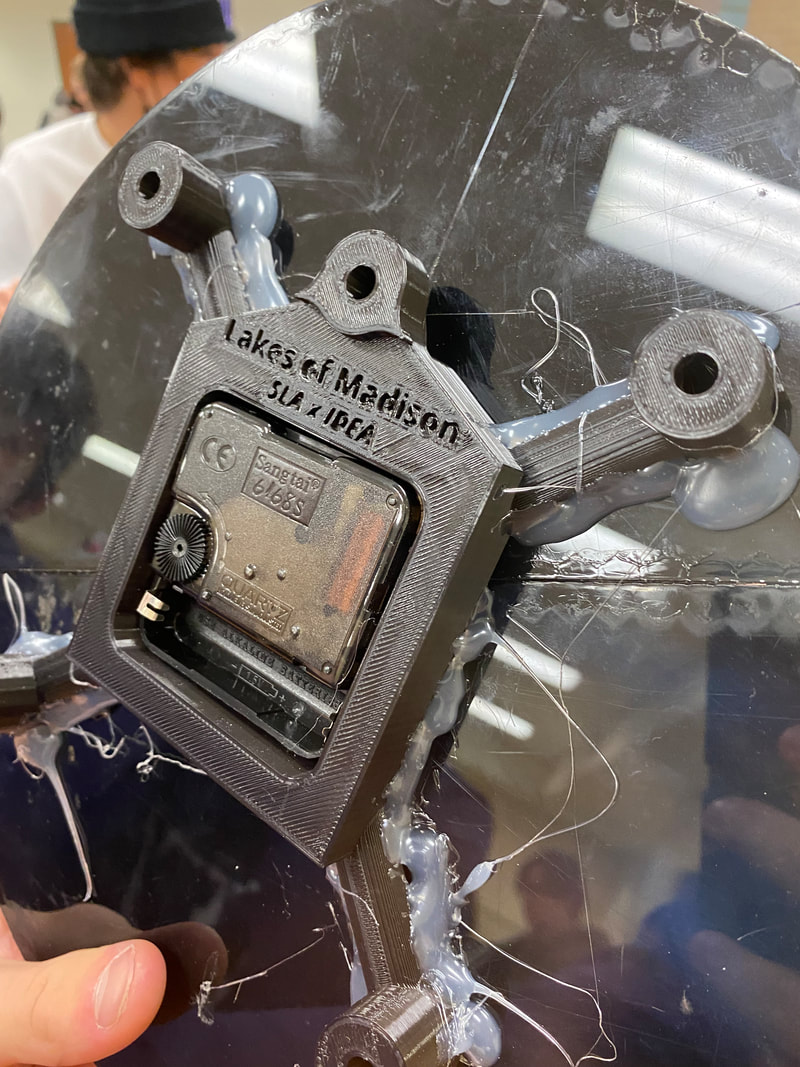
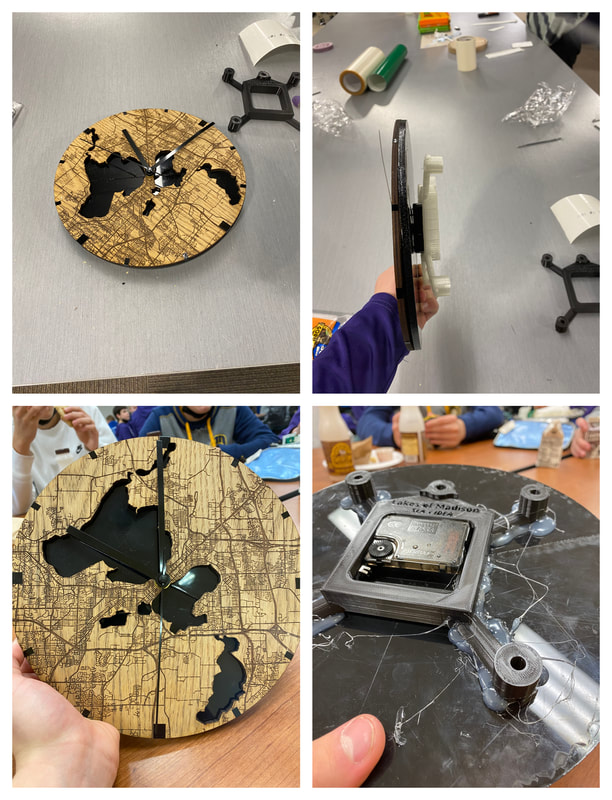
The Photos on top are the clock "assembled" with the clear back assembly that I printed on the Makerbot printers at school. The bottom two photos are with the piece I printed at home. The hot glue is temporary until I find some screws to put in the designed holes.
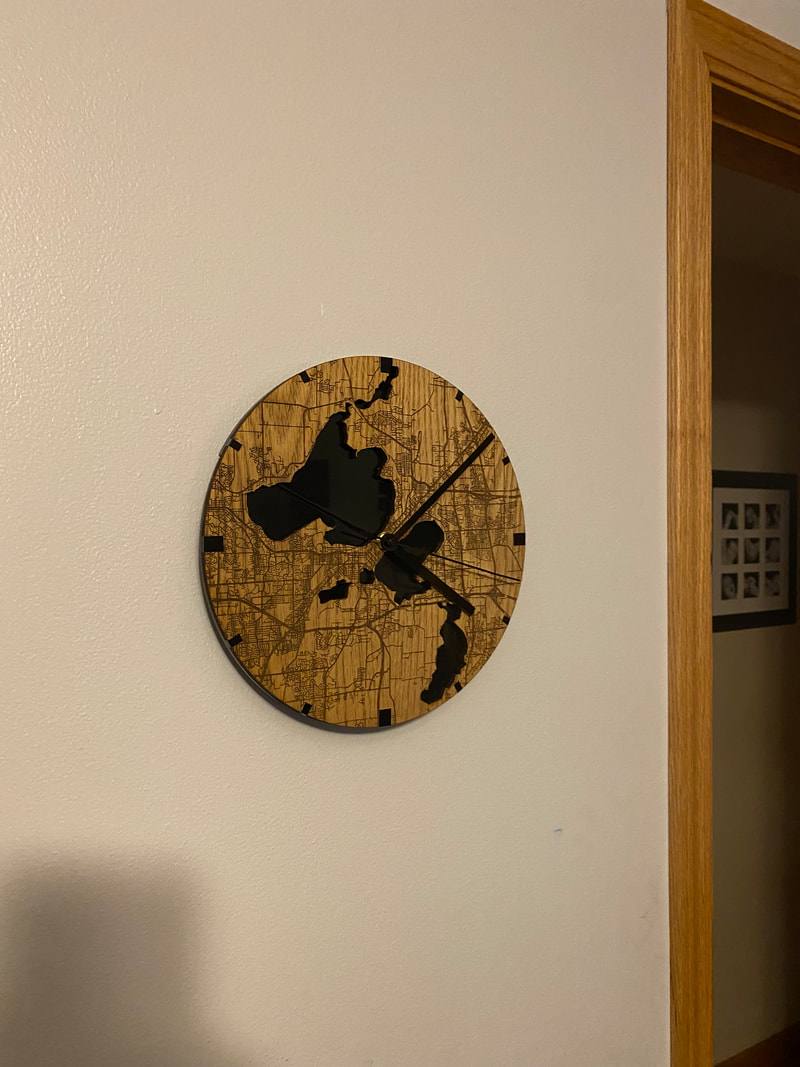
^ It set up and running
|
|
