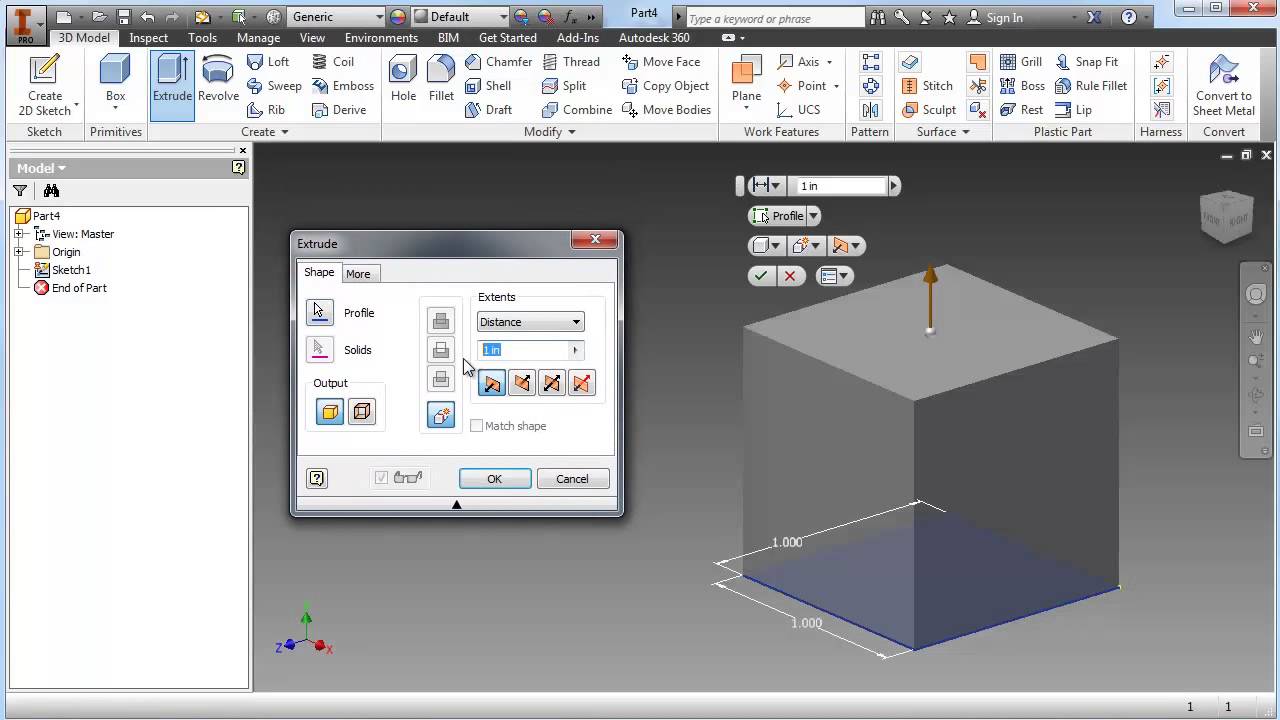
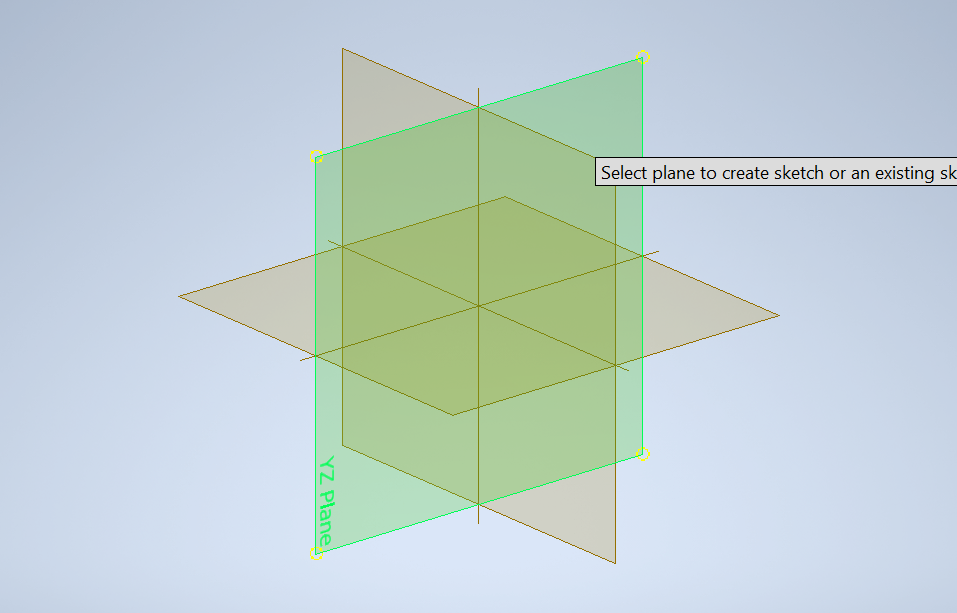
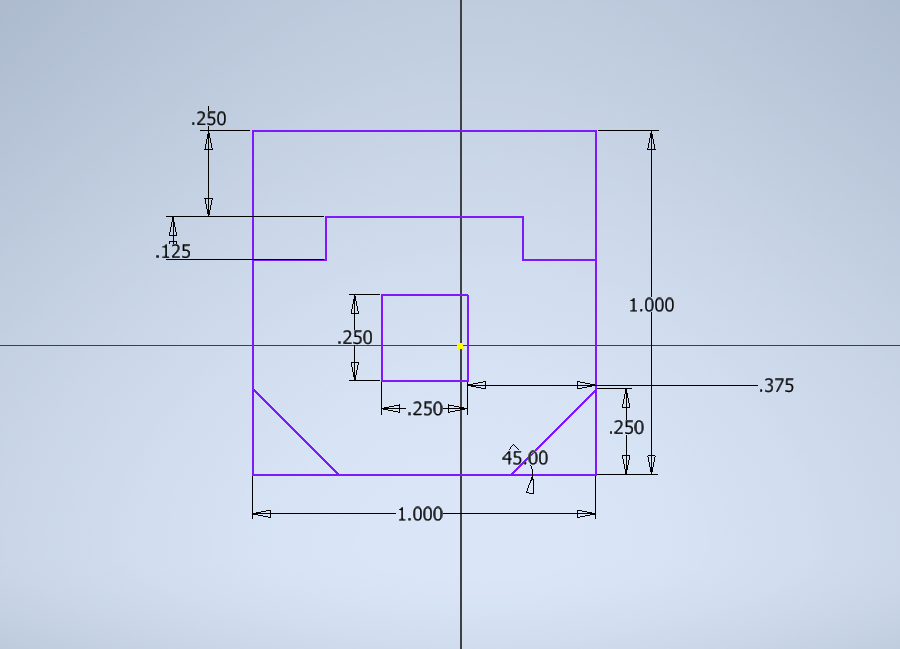
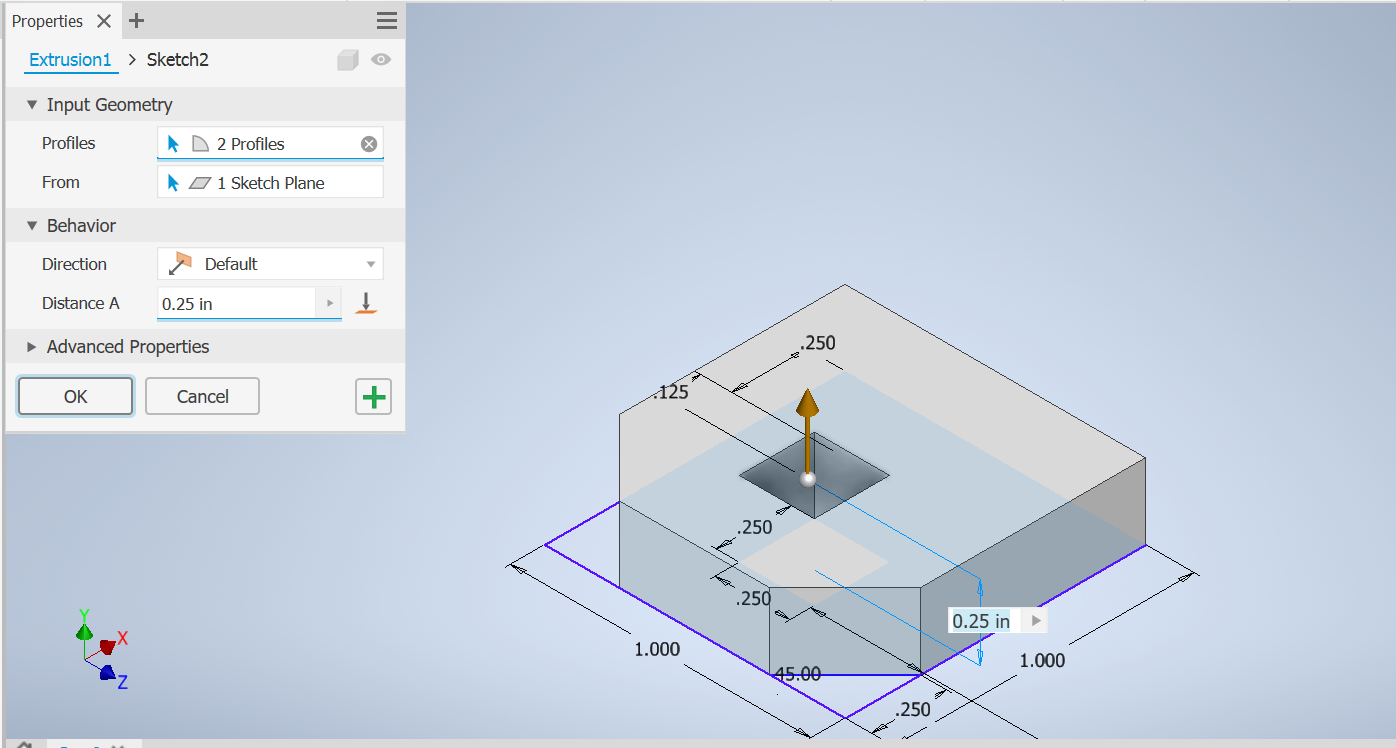
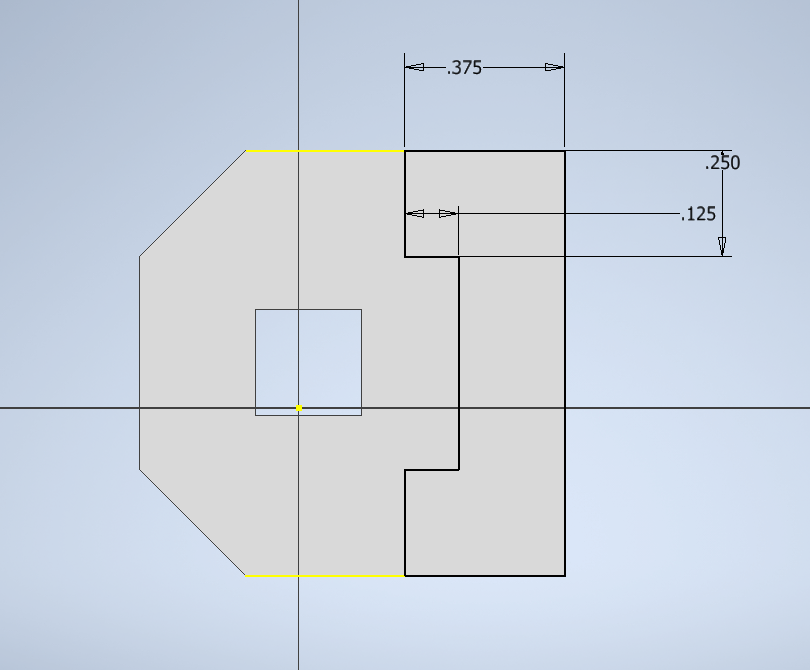
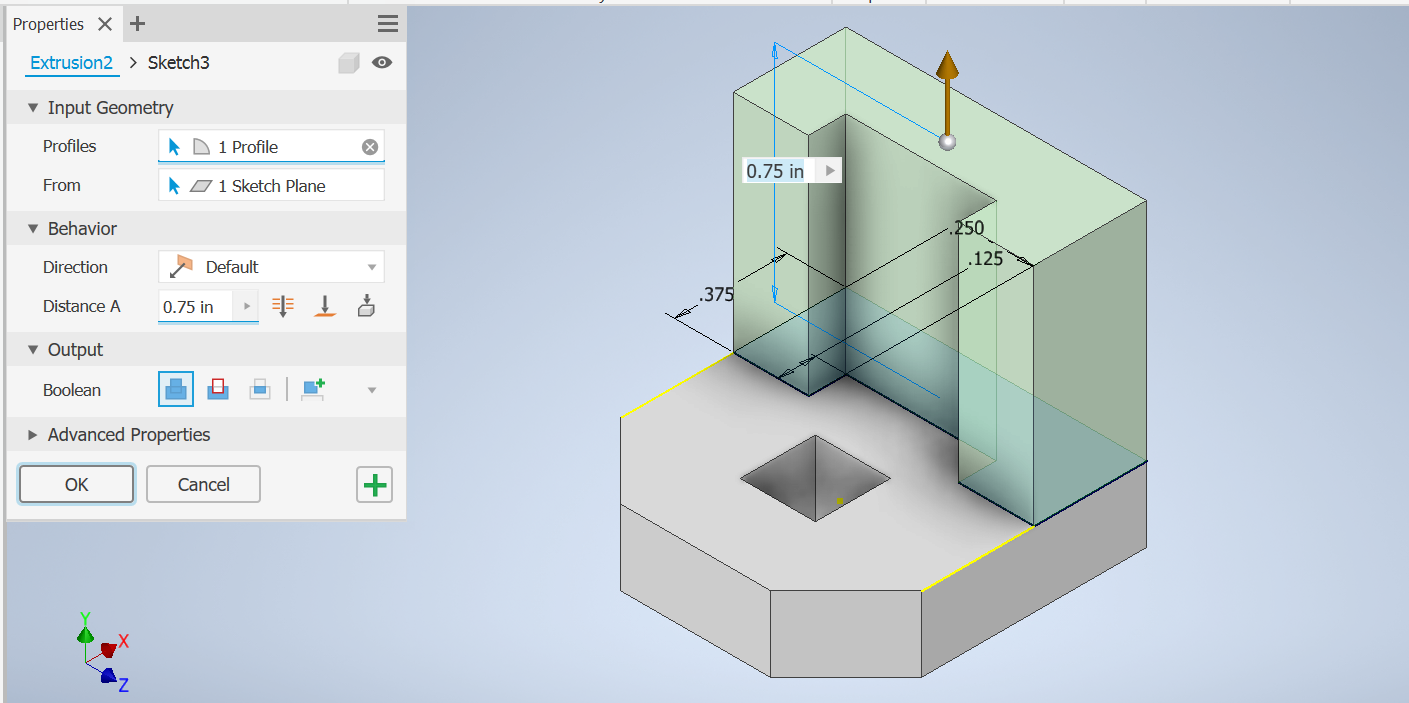
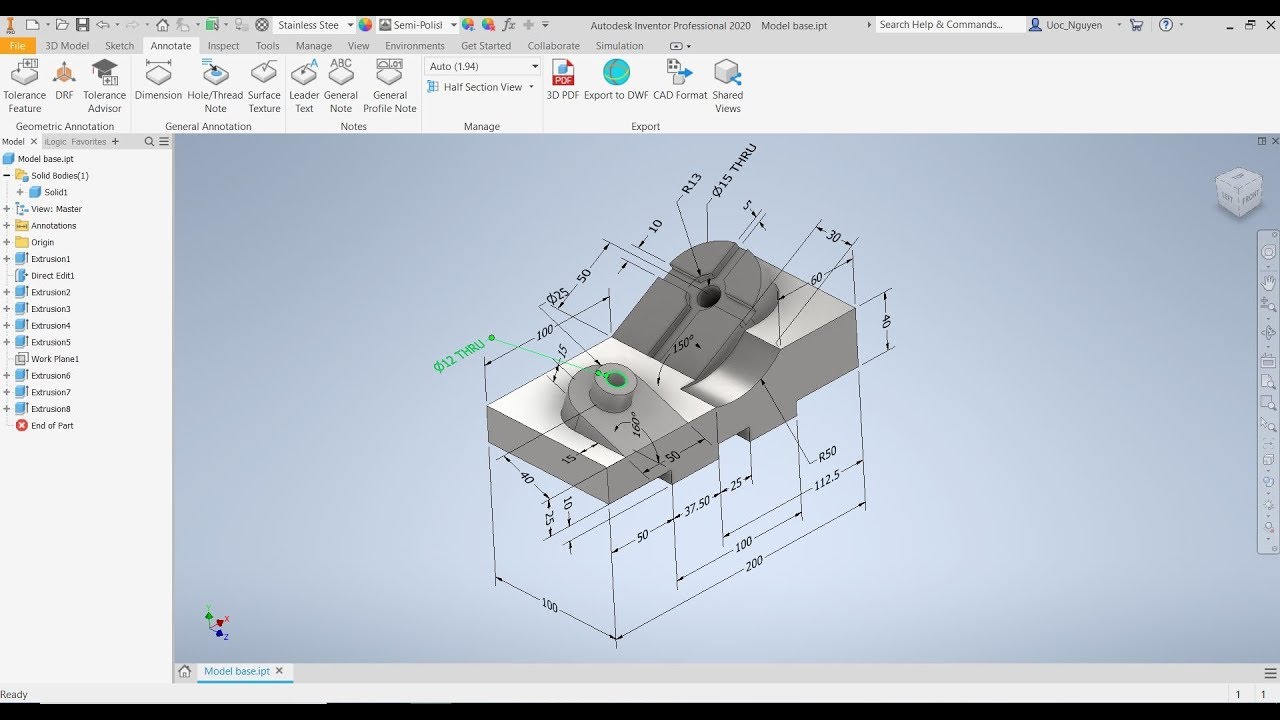
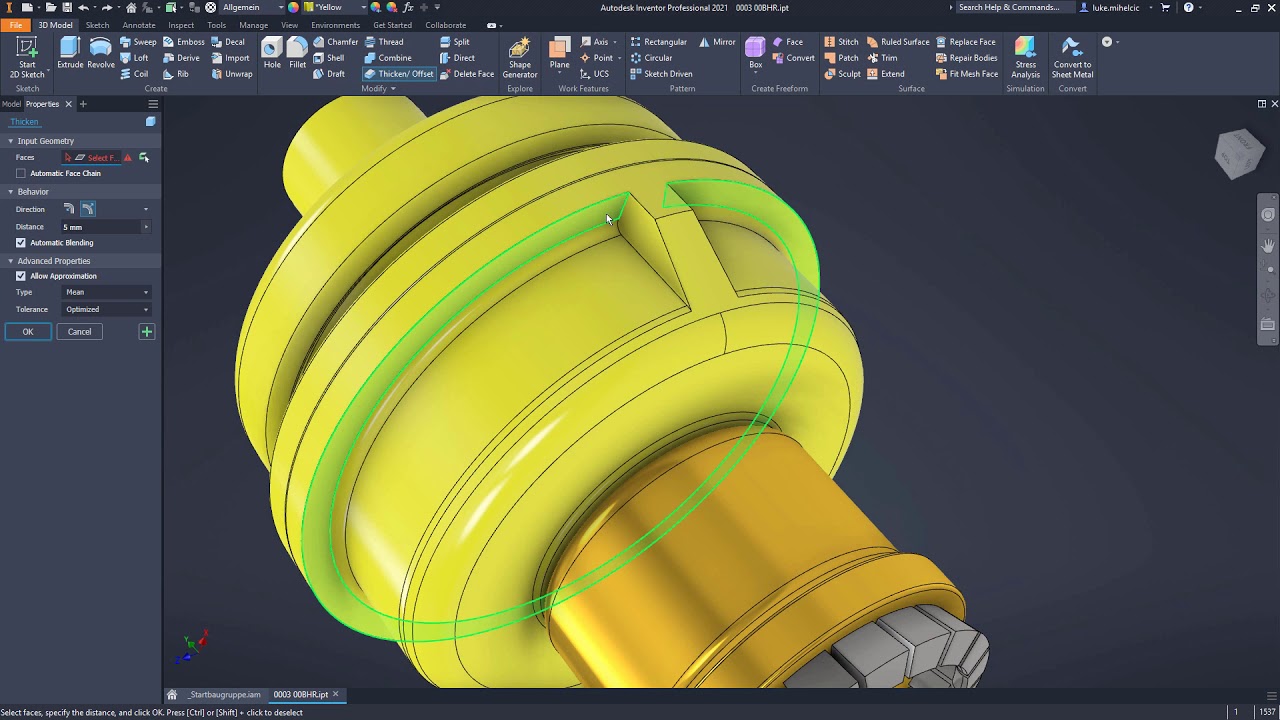
To start making an object on Inventor, you must start with a sketch. A sketch starts by choosing a plane to draw on.
You can then add a 2D drawing of your item. Through constraints and dimensions, you can perfect your creation and continue.
From there, the given shape can become 3D using the extrude function. the depth of the extrusion can be modified using the pop-up box.
To create this particular widget, a second sketch/extrusion was necessary. (A face of your object may be used as a plane to start a sketch on.)
Finally, an extrusion will finish off this particular Widget.
We then move into the Makerbot and 3D printing stage. After exporting the Inventor file in a compatible file type, we can manipulate the object in Makerbot's software.
After correcting the scale, placement, and orientation (as well as some print settings) of the object, the file is ready to export to the printer. Below is Makerbot's preview function, showing us how the printer plans to print layer by layer.
Here is the Widget after the printer is finished.
Summary:
Even though I have a little experience in CAD from last year, I learned a lot about inventor and the differences between the software I was using. More importantly, it taught us how to make the models physical through use of the Makerbot Software and 3D printers.