NOTE: I apologize, but I managed to accidentally delete my whole photo gallery on my phone, which included all of the photos from all stages. (This goes for the Mill, Router, And partially on the Final Project.)
Brake Bracket Design Process
(Inventor Portion)
|
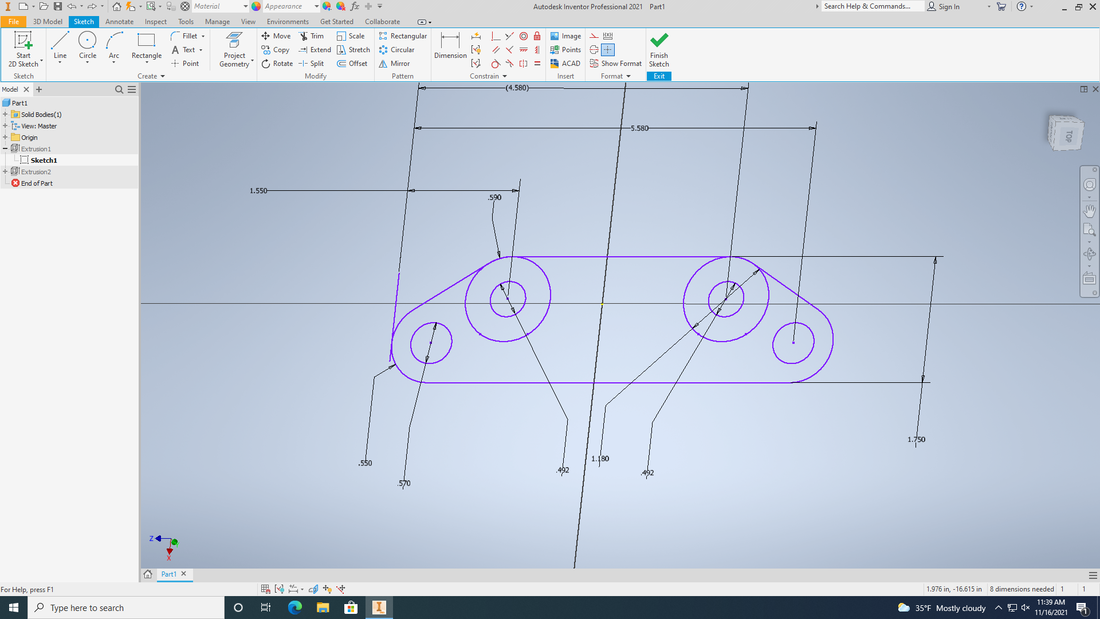
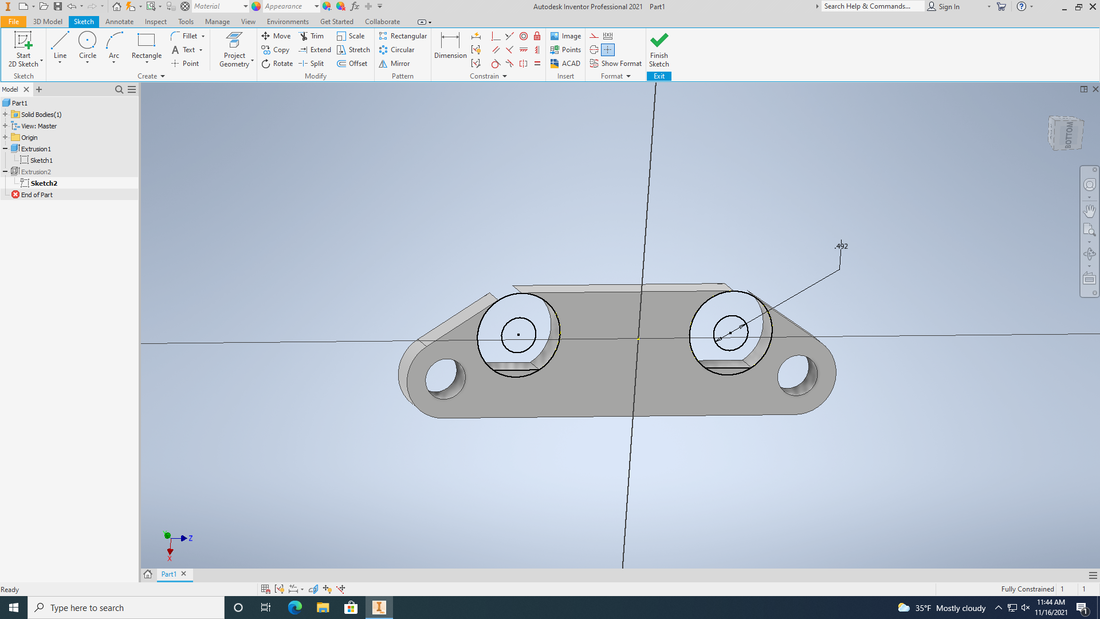
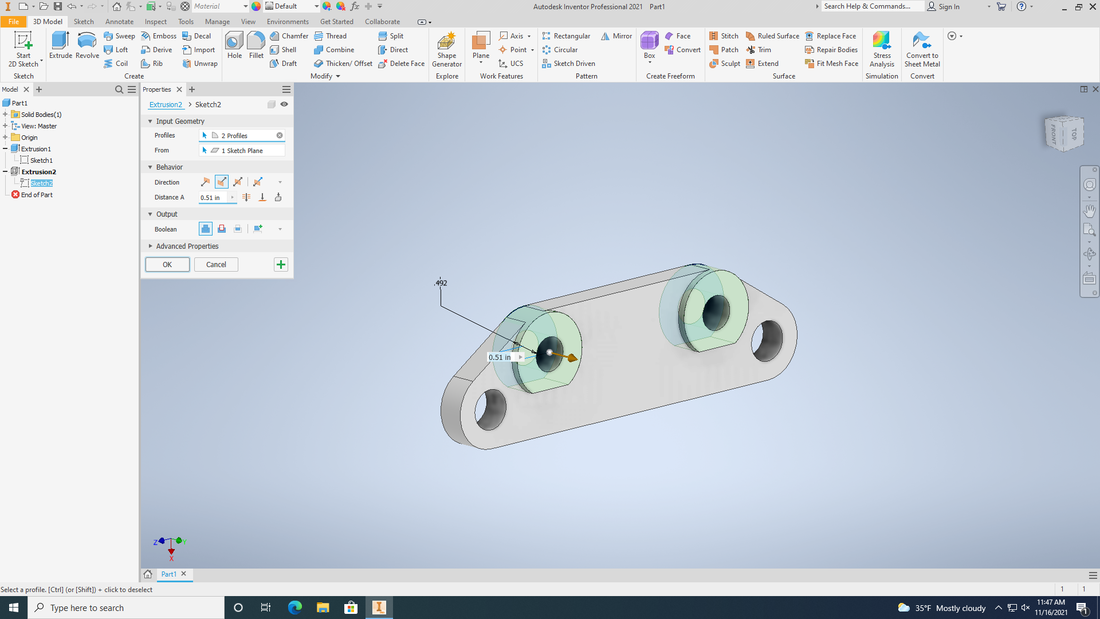
The goal was to create the part in the least sketches possible, which was guided by a handout in the form of a technical drawing. Throughout the next few photos is the route I took to the final design.
|
|

|
|
|
Done, although it still needs to be prepped for the Mill.
|
(Fusion 360 Portion)
|
In order to setup the G-code of the CNC mill, it needs prepping for the machine. For us, this is done in Autodesk's Fusion360.
|

|
|
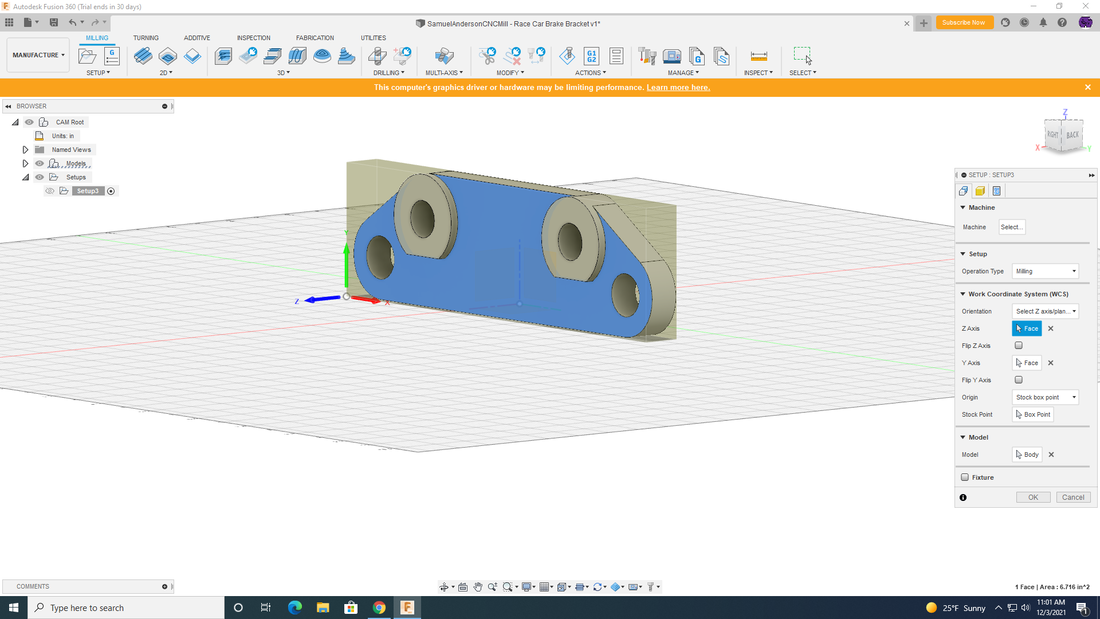
The first step, once in fusion's manufacturing tab is to create a setup. In this step, you can set the material size, home of the machine, and more that we didn't use.
|
|
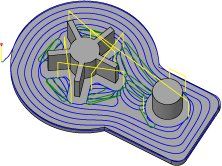
After setting up the part that tells the machine where the material is, we can tell it what needs to be removed for the final project. this is done by using a cutting path, in this case "2D - Adaptive Clearing." This will automatically create a toolpath once a cutting tool is selected, (In this case it was a 1/4 inch bit of 2 inches in length) This is not the last step yet.
|
|
|
While a simulation will technically run, the foam is capable of a lot larger (and more drastic) stepdown, we also do not plan on sanding or finishing afterwards. so we need to change the "Multiple Passes" and "Stock to Leave" settings. This is done in the next tab over from the pictured one. (0.25 inches for the maximum roughing stepdown, and 0 for the stock to leave.
|
|
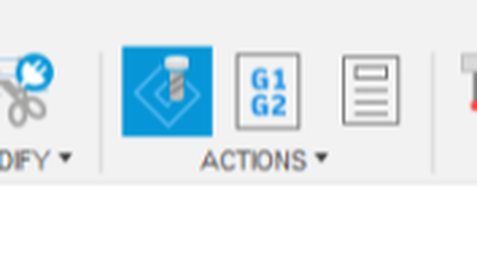
From here, with confirmation from a simulation (making sure nothing is faulty in the cut) we are ready to export to the mill. This is done by selecting the "Pathpilot 8L..." machine in the G1-G2 tab on the top bar. setting a name, and downloading the file.
|
|
On the Mill...
|
First step is prepping material. In this case, foam. Which we can stick to a piece of scrap wood using double sided tape and hope for the best.
|
[Lost Photo]
|
|
[Lost Photo]
|
After prepping and pleading with the machine for a few minutes to not brutally rip your foam off, leaving you without a spot in line, a lot less time, and general depression, you can home to the bottom left corner of the piece using the controller and zero all the axis coordinates.
|
|
The next step, after selecting your file, is hoping more. Remember that if this fails, you can be set back days. Good luck!
|

|
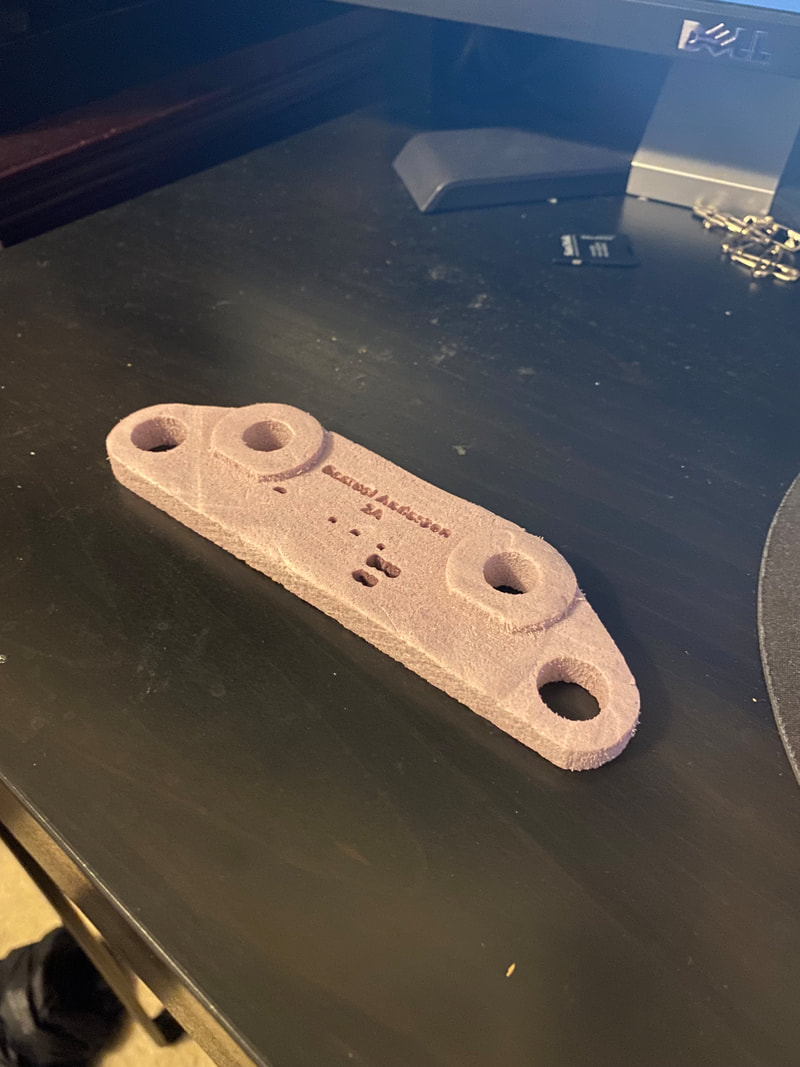
Final Product: