NOTE: I apologize, but I managed to accidentally delete my whole photo gallery on my phone, which included all of the photos from all stages of the process. (This goes for the Mill, Router, And partially on the Final Project.)
|
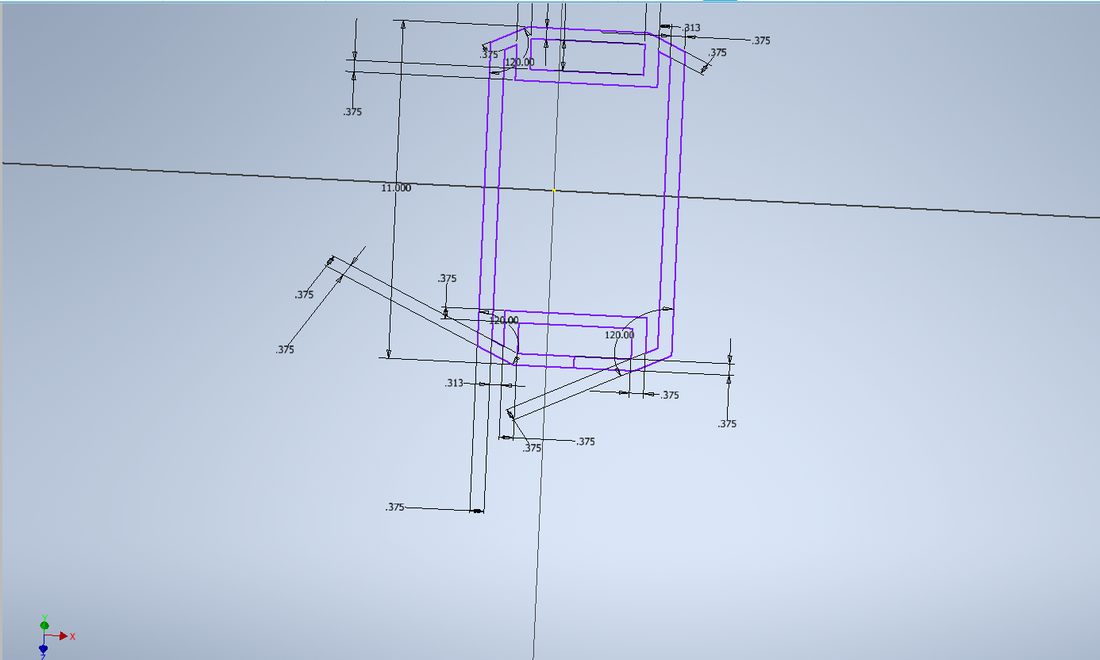
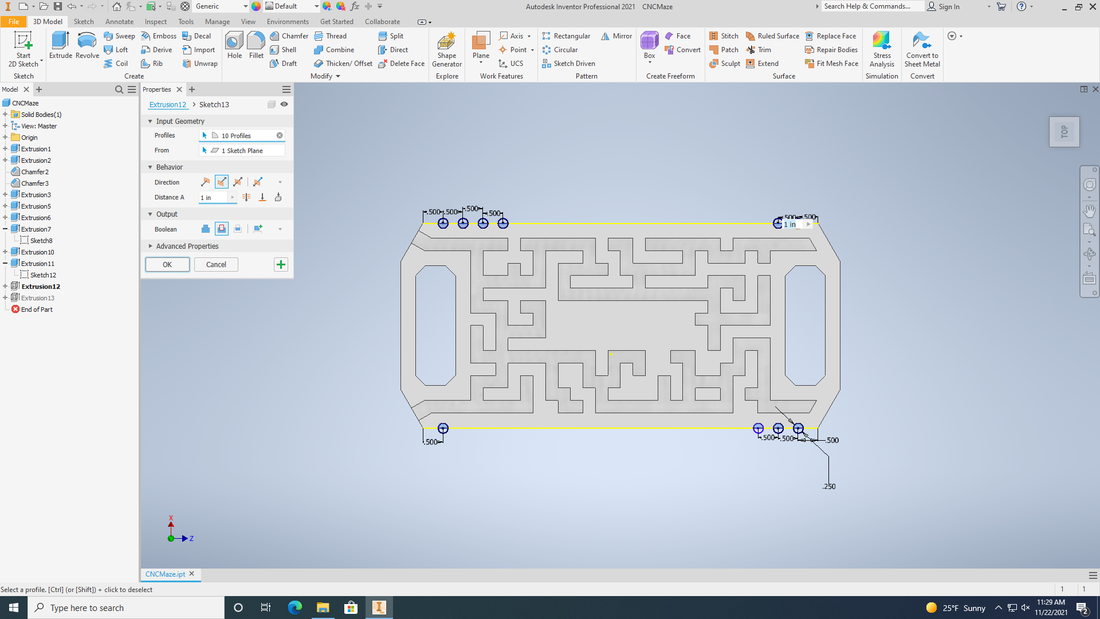
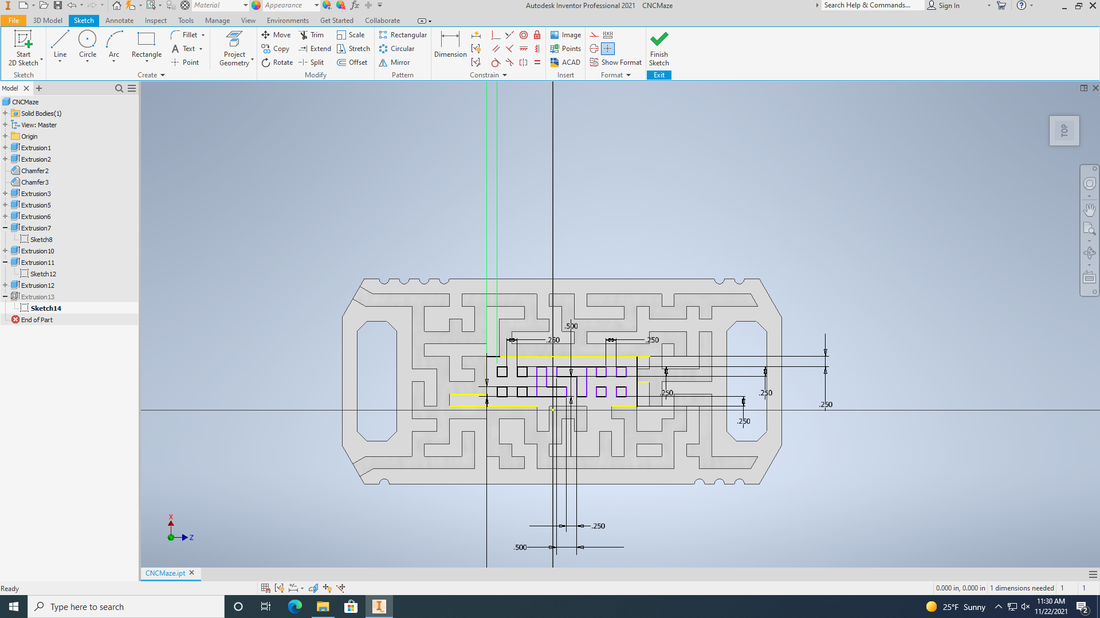
In this assignment, we were required to create a maze for a steel ball bearing. I started by creating the outline of the maze, the no-maze-path-because-that-would-be-too-close-to-the-border part
|
|

|
The Maze Part I Guess
|
|
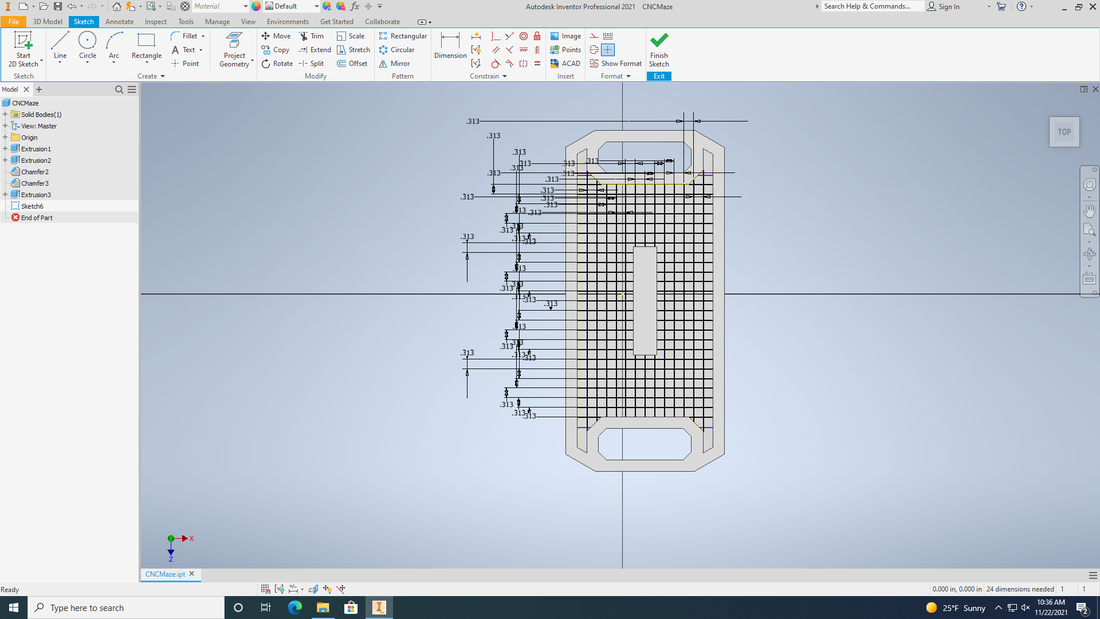
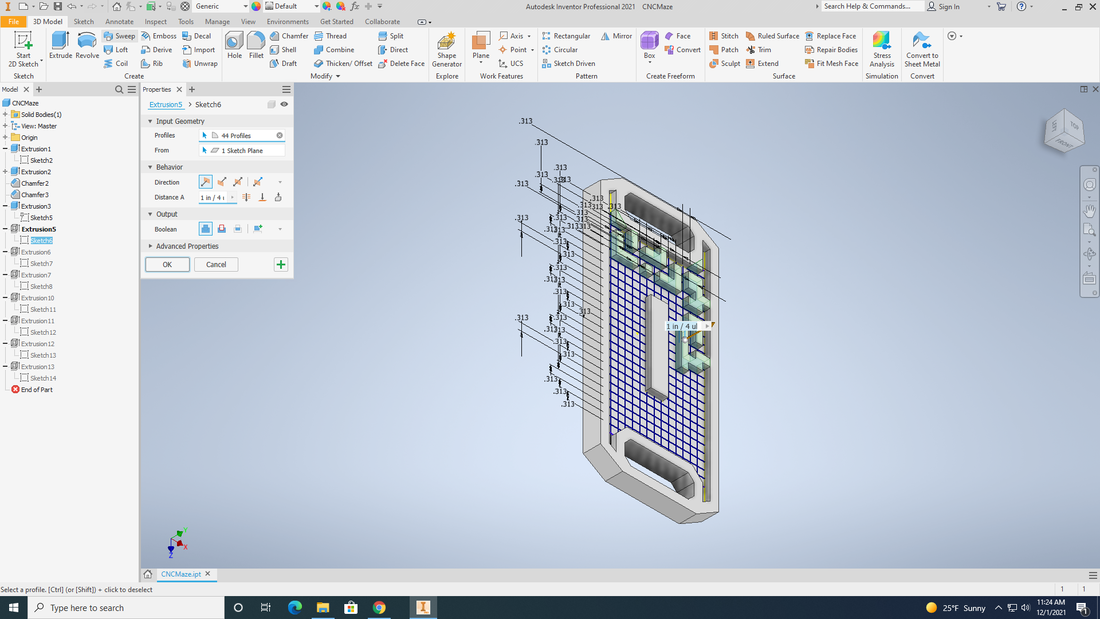
After that, I created a grid that would allow me to keep my walls and maze paths of equal size. By extruding individual squares, I was able to make an extremely low resolution drawing slate to fill in a maze on.
|
|
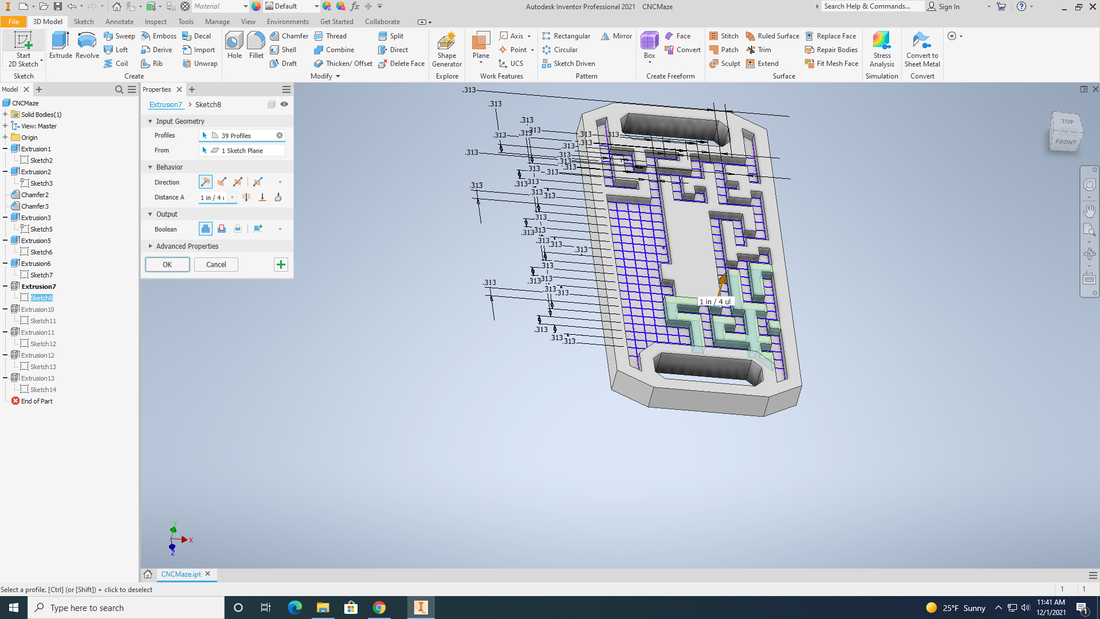
Once the maze was done, including an entrance and exit, I had to figure out how to make the maze longer. The solution was to make it a "four corners"* maze, which I marked using divots in the sides.
* - Four corners, My idea that to beat the maze, you must reach all corners in order |
|
|
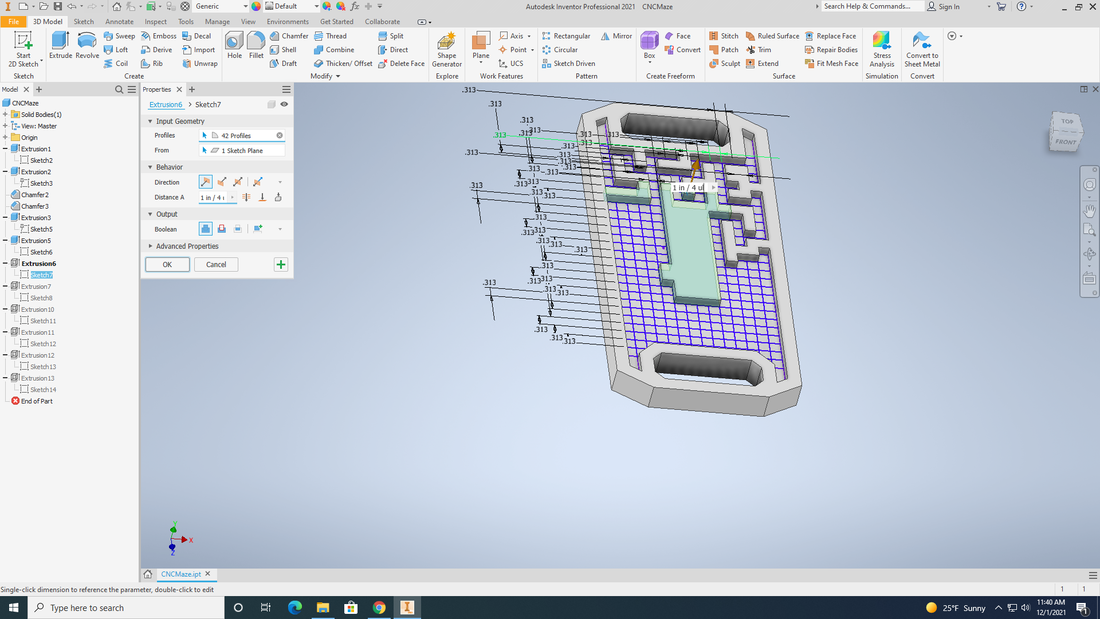
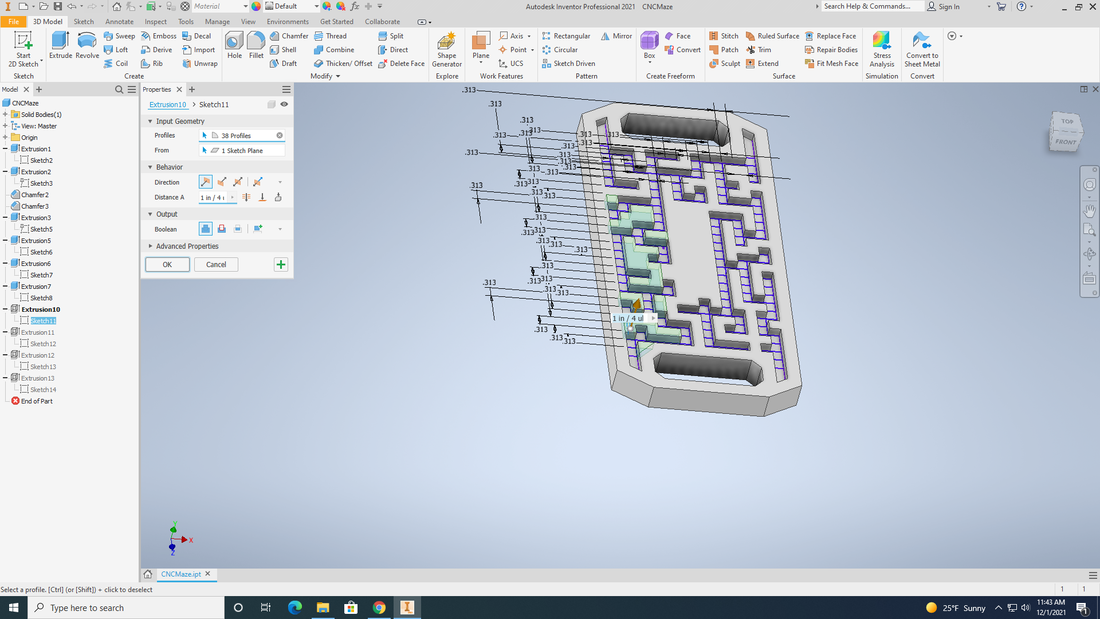
Although not in the final product of the maze, I did design something for this middle section. I eventually decided to put the required name and class hour there instead.
|
Fusion 360
|
Much like the brake bracket, we begin with the setup. The stock is the size of a piece of paper (8.5x11 inch) and 3/4 inches thick. The box point, differing from the brake bracket, is placed in the exact center of the stock.
|
[Lost Photo]
|
|
[Lost Photo]
|
The next step, mostly like the brake bracket, is setting up the cutting path. One difference is the method, which in this case was the 2D contour setting. The second difference in the cutting path was the fact I had to individually click each line in the maze. Every single straight line in my complex maze path, which ended up being over 100 clicks. Due to technical errors, I did this 2-3 times until Ms. Proctor changed something about an angle and everything worked. Anyways, the stock to leave is still 0 and the maximum roughing stepdown is still 0.25 inch.
|
|
After the simulation checks out good, we can export, same as the Mill, except choosing "Forrest scientific.." and it's ready to send off.
|

|
On the Router...
|
The router material prepping is similar, but on the piece of foam core, you need to find the exact center to match how you placed your box point in the center. once sticking it down to the sacrificial board, you can home the machine and zero it, same as the mill. Once finding your file, it is ready to start. After the maze is finished, the shop vac is there to clean up the leftover foam scraps.
|
[Lost Photo]
|
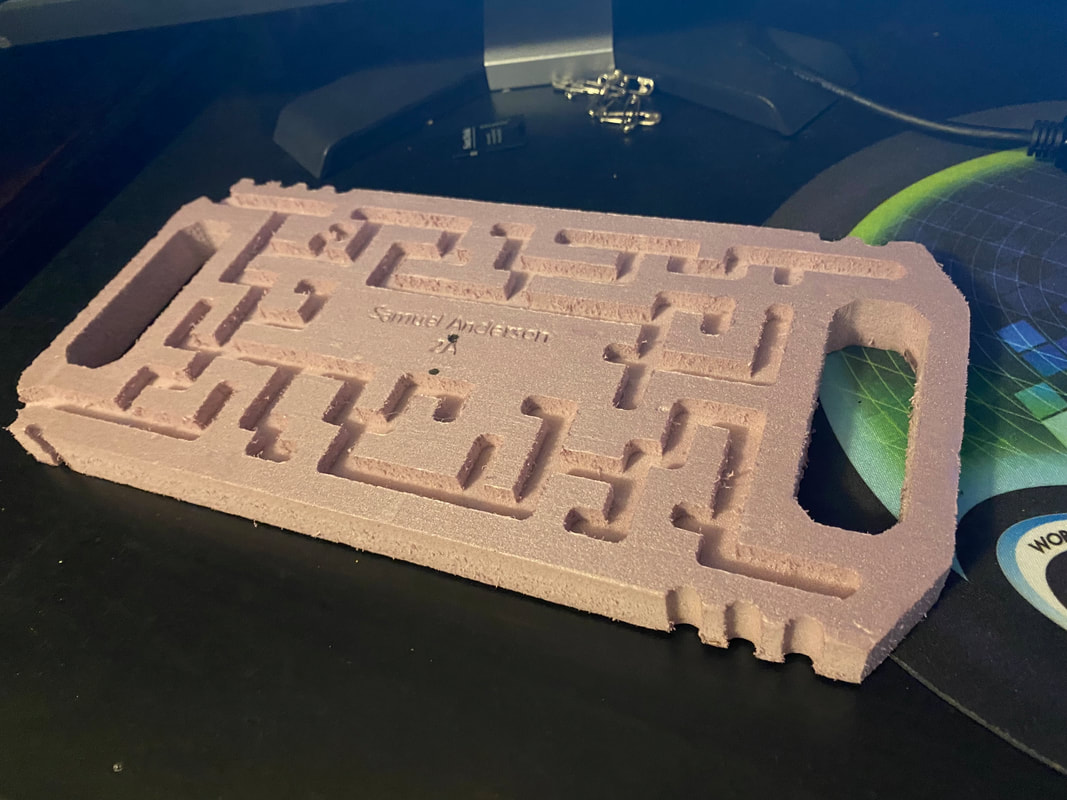
Final Product: