|
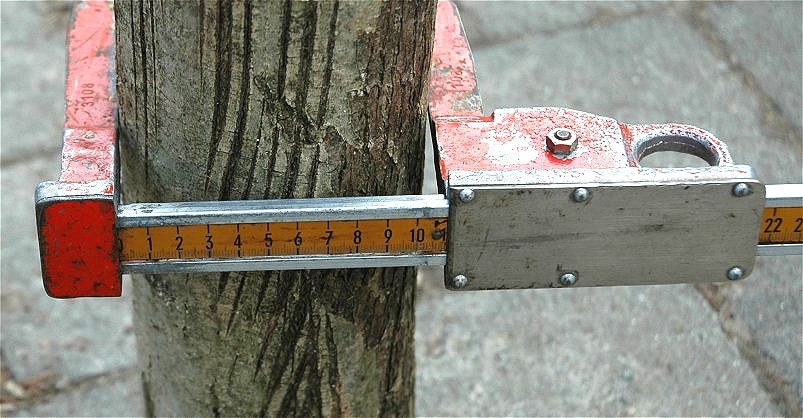
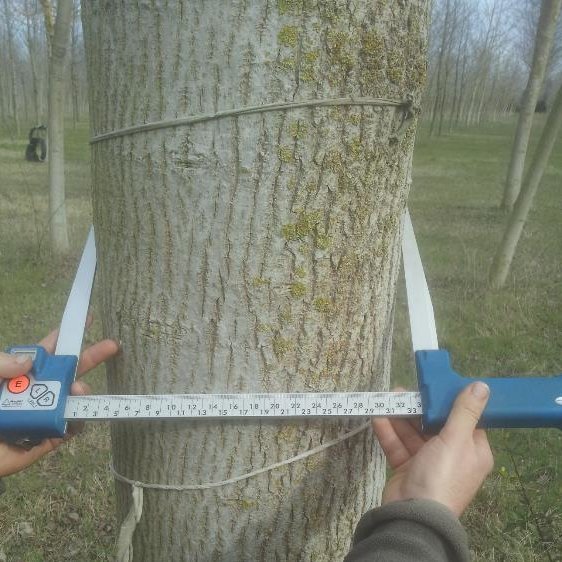
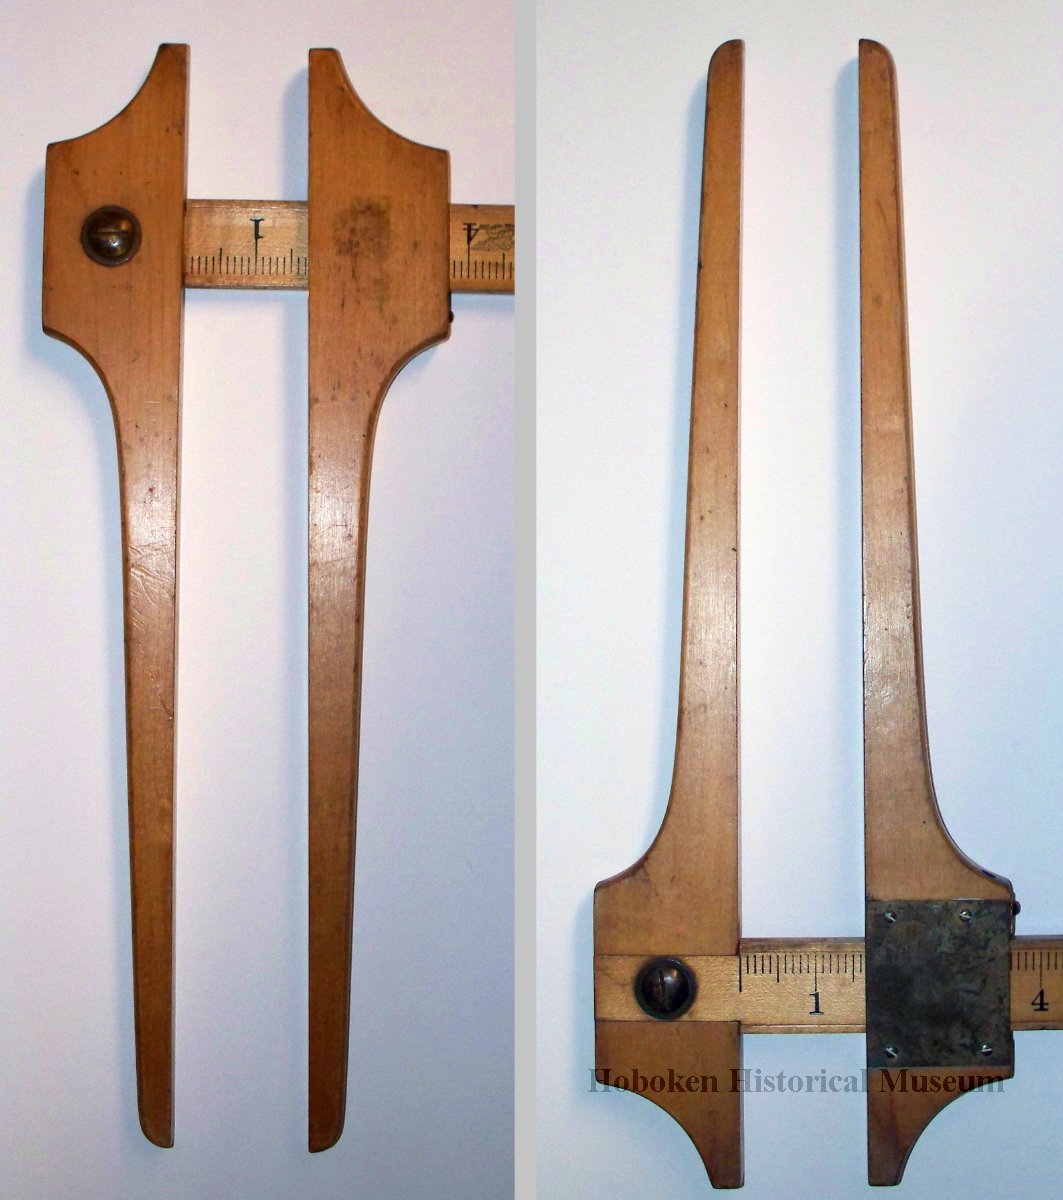
The Big Idea "Redesign" Project is a unit where the class is tasked with making something to solve a real world problem. This year, the task was to create a tree caliper for Mr. Shucha's class to use. A tree caliper is a device that measures the width of a tree trunk which can then in turn be used - aside from being an important detail about a tree in itself - to estimate other measurements/details about a tree as well.
|
|
Pre-Search:
|
|
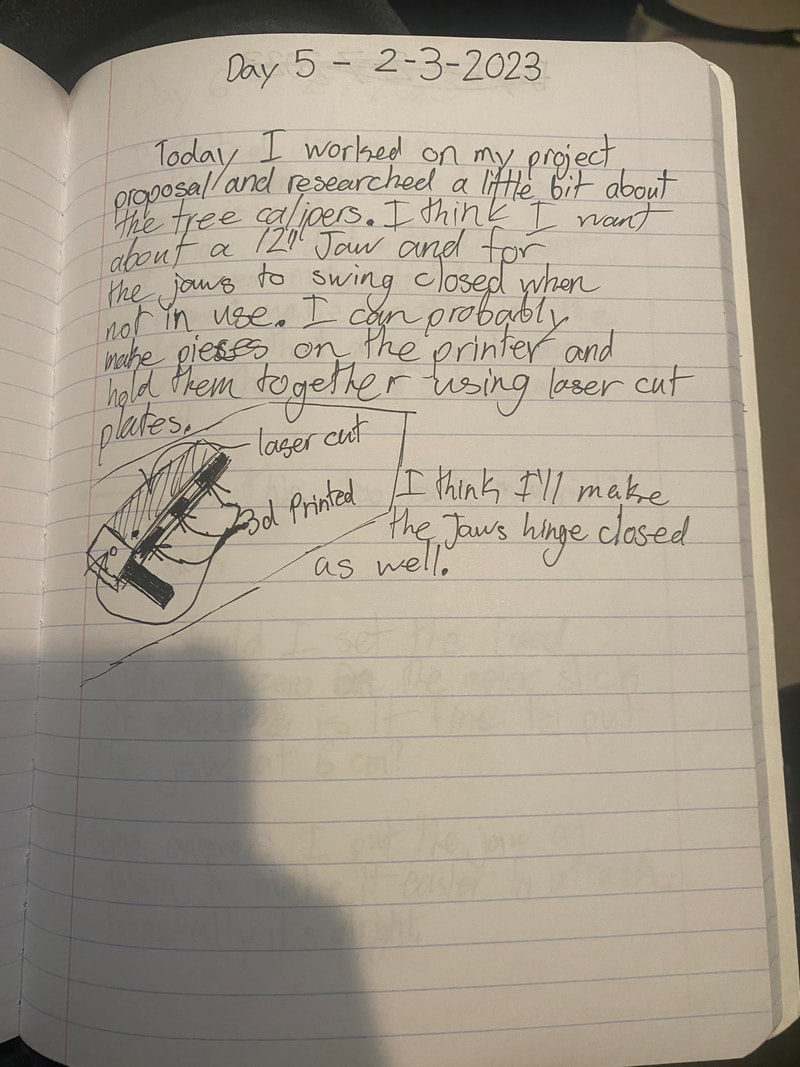
In designing the calipers, we first researched and brainstormed possible solutions. The criteria for building this product was that the calipers had to be made using the 3D printer or laser cutter (or a mixture of both). With the tree calipers needing to have as long of jaws as possible, I figured it would be best to do the handle and pieces in contact with the rulers as 3D printed handles, and the long blades of the calipers to be done on the laser cutter, whether wood or acrylic.
|
My Design:
|
Products Already on the Market: |
|
Folding Jaws |
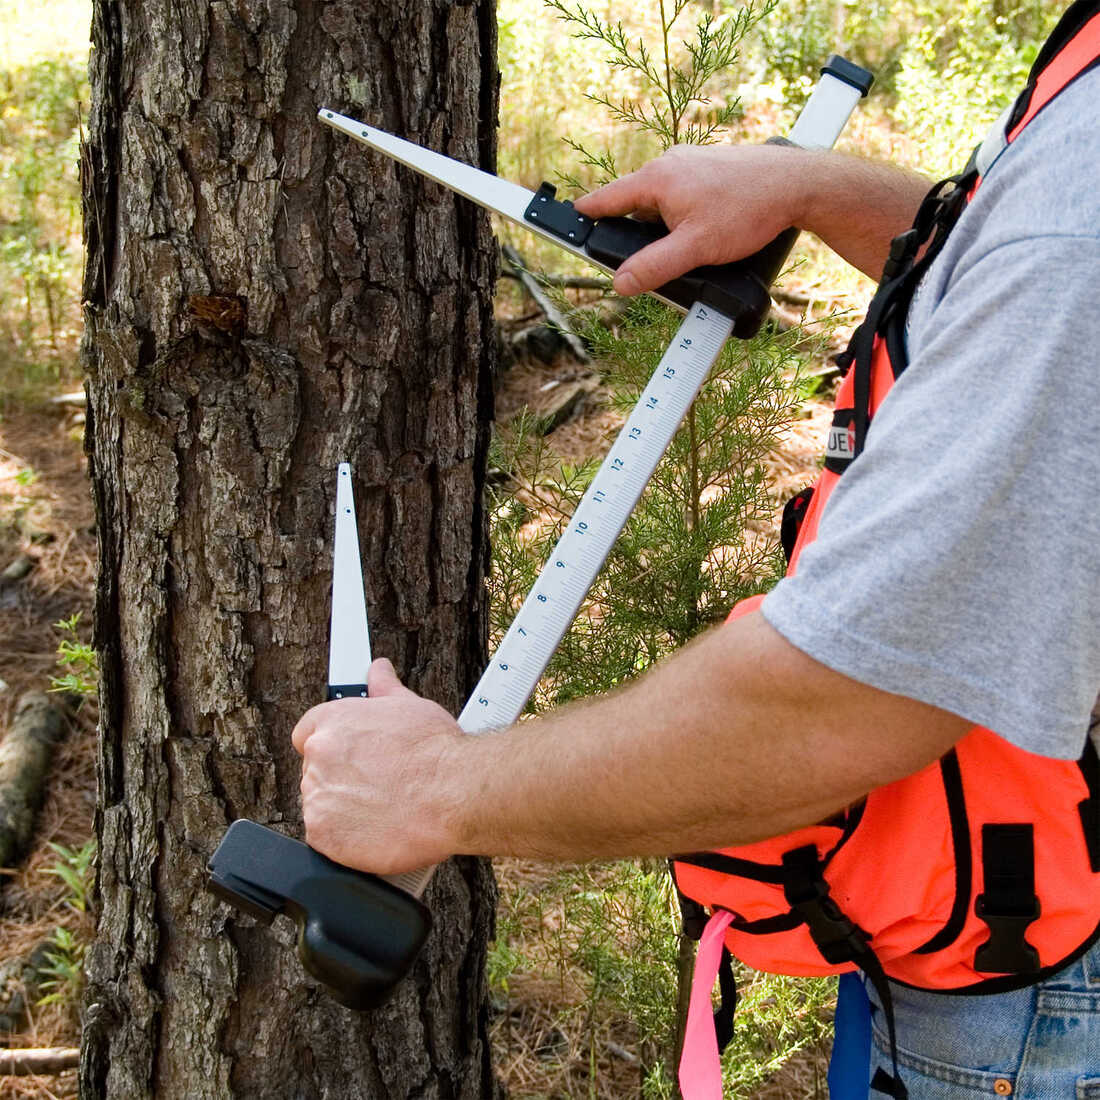
|
|
Extended Handle |
|
|
Lightweight & Durable Wooden Jaws |
|
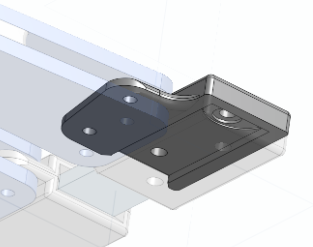
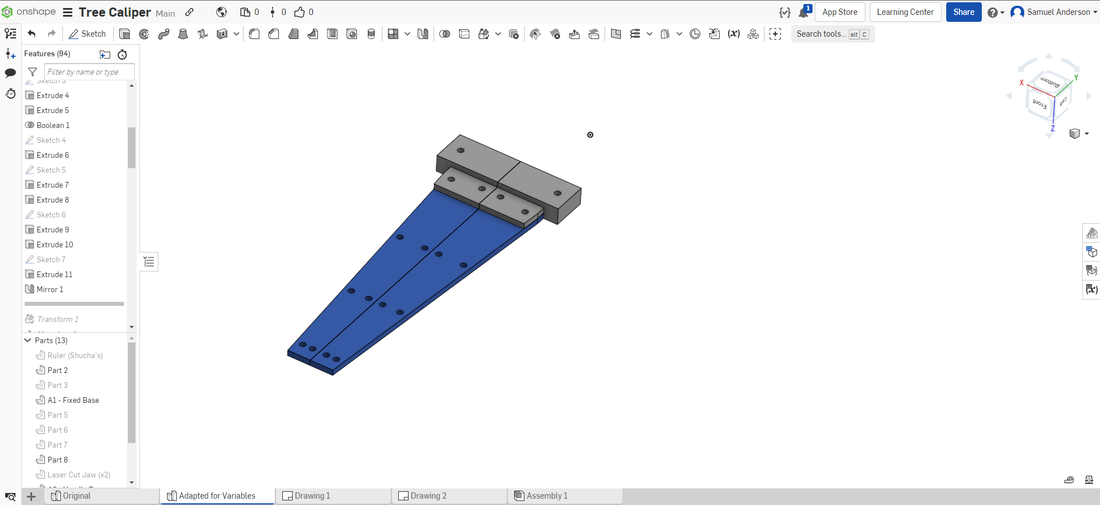
Designing/Prototyping - Fixed Base & Jaw
|
|
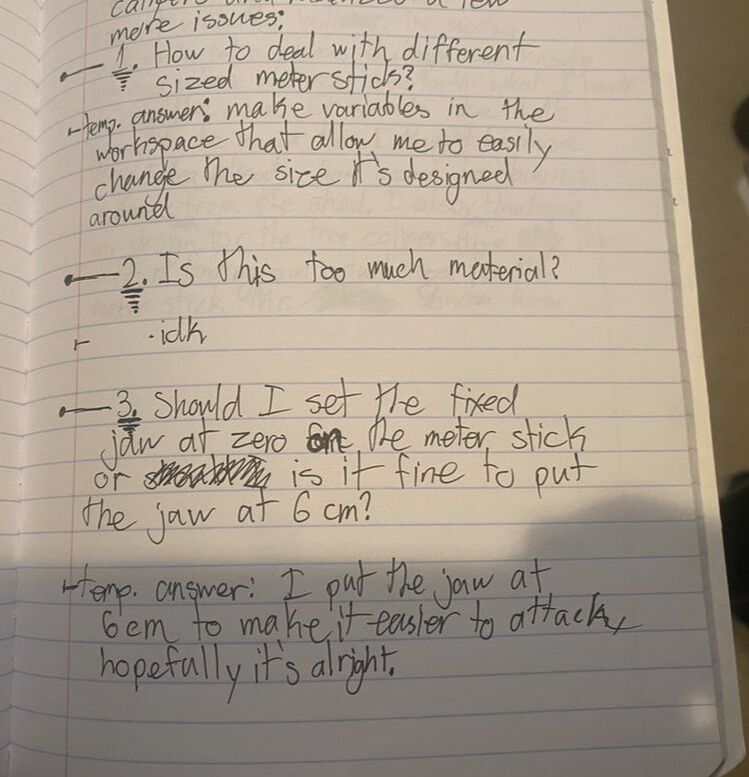
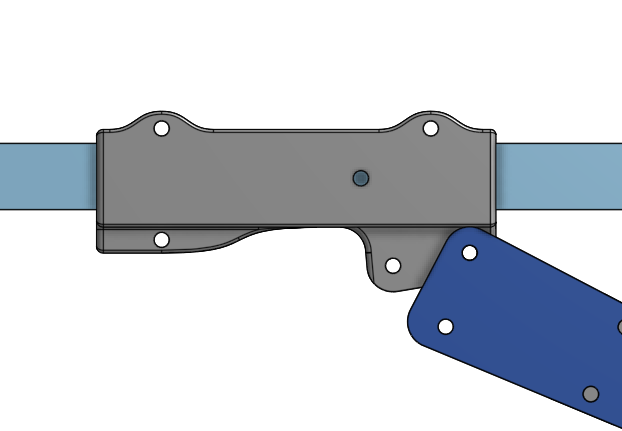
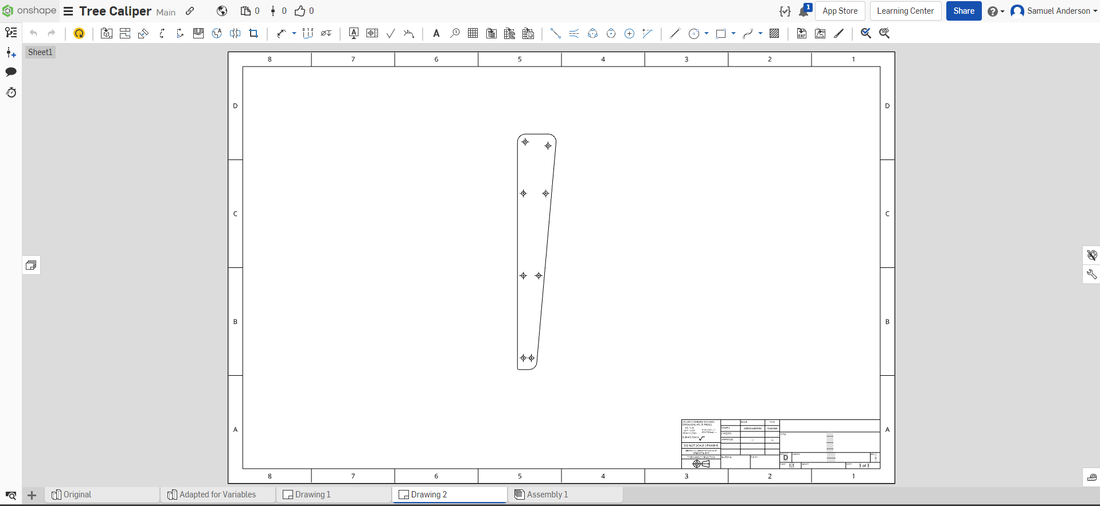
In Onshape, I have a good amount of experience with the modeling process in general, so I experimented a little with this design. There's a feature where you can use variables for measurements and use them throughout multiple sketches/processes. This made it easier to switch measurements quickly based on the issues I found, such as different sizes of meter sticks, different bolt sizes available, and more.
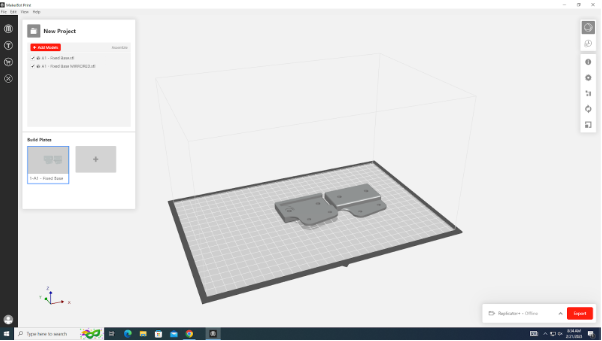
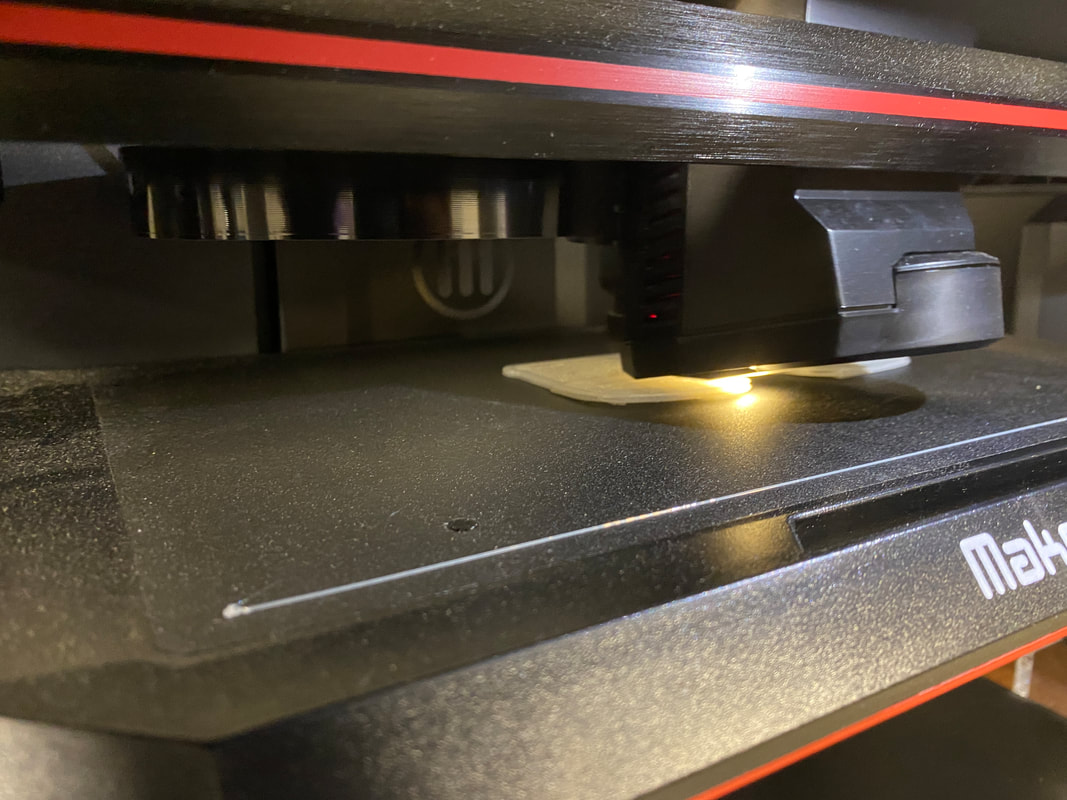
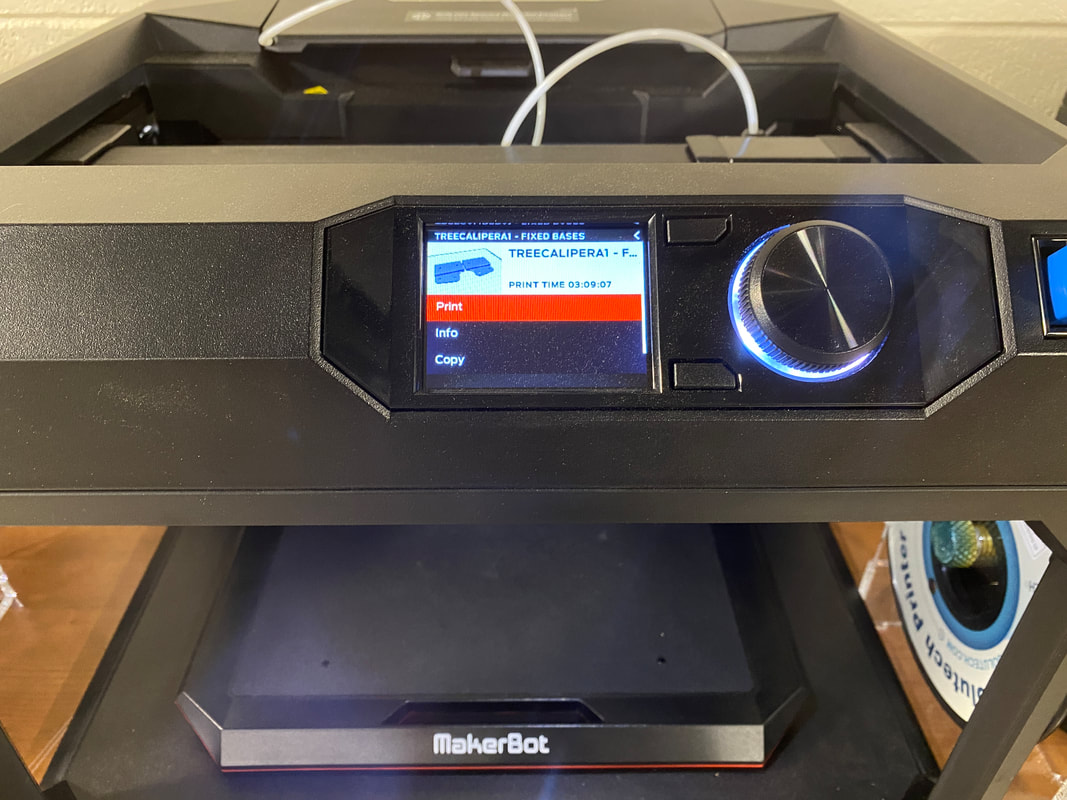
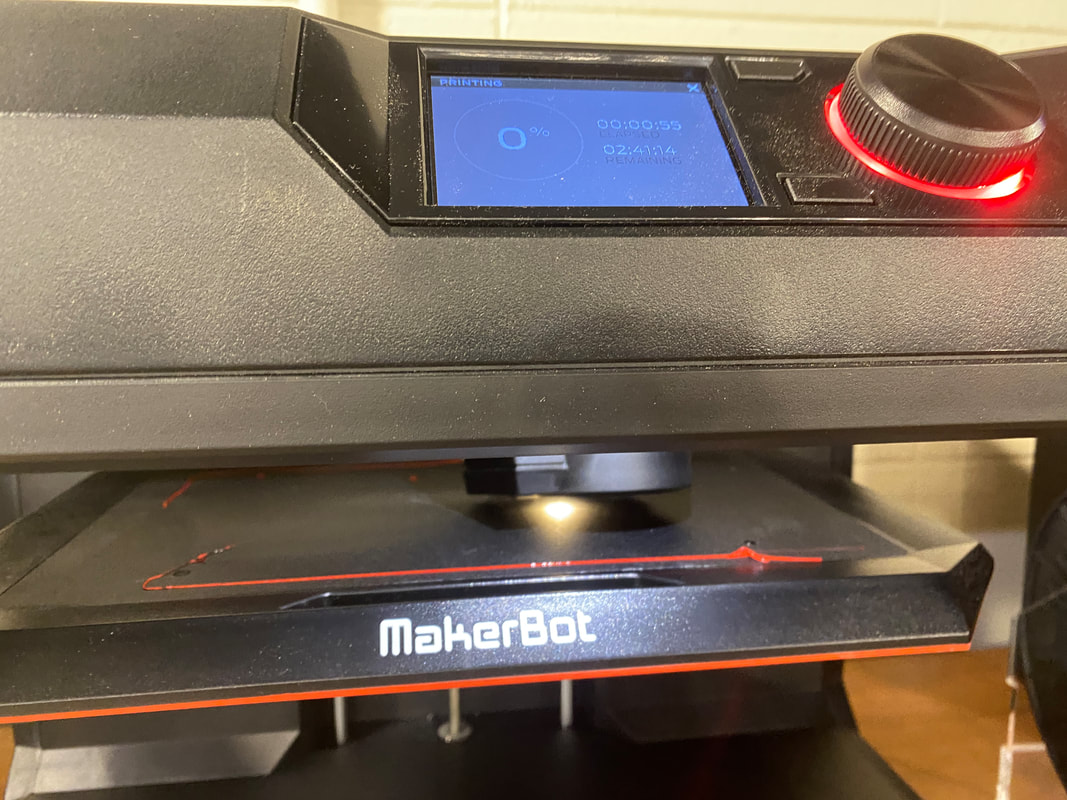
First Print - Fixed Jaw
|
|
After printing the first prototype, the warping was not great. With the padded base and brims setting, the print still warped a fair amount. However, with a little heat from a lighter, I was able to flatten it out to where I could use it to test. With advice from Mr. Willauer, I revised the design so that the offset of the fixed piece is adjustable in relation to the end of the ruler using a channel for the attachment bolt.
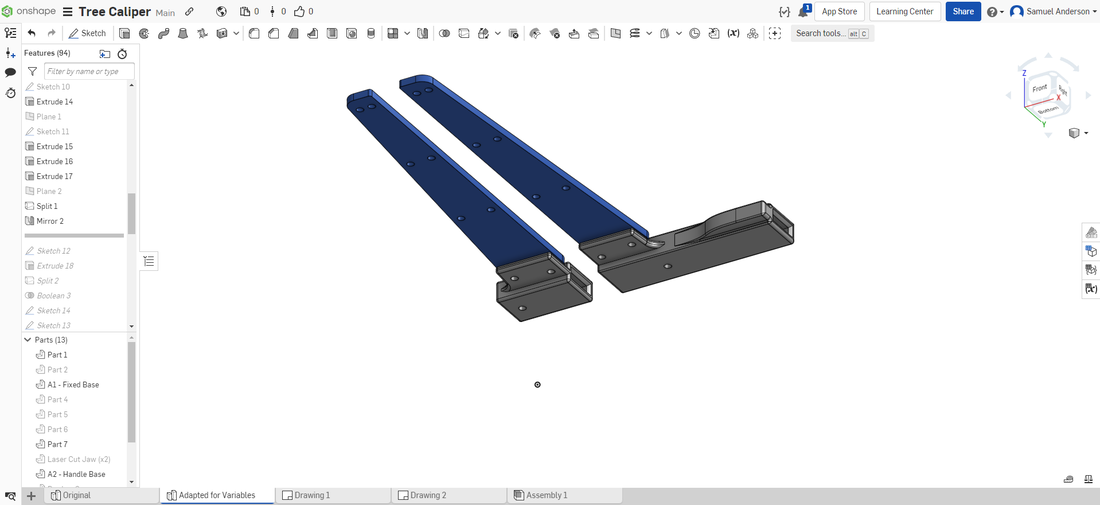
Designing/Prototyping - The Handles & Moving Jaw
|
|
|
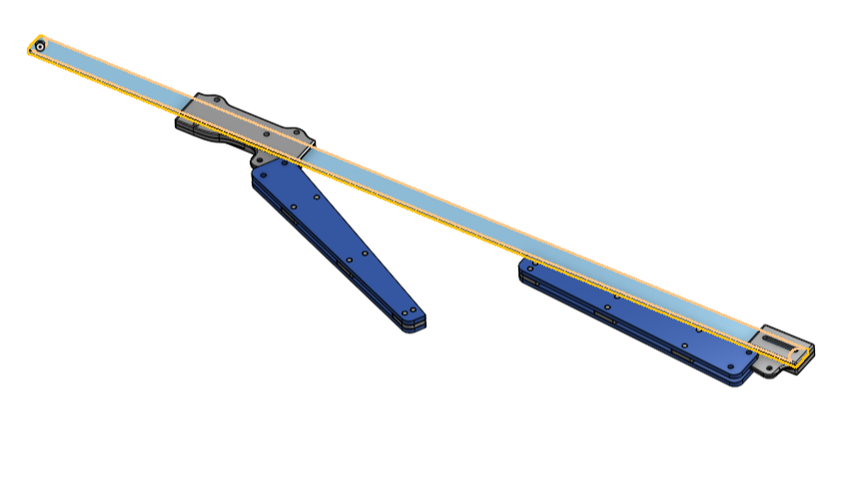
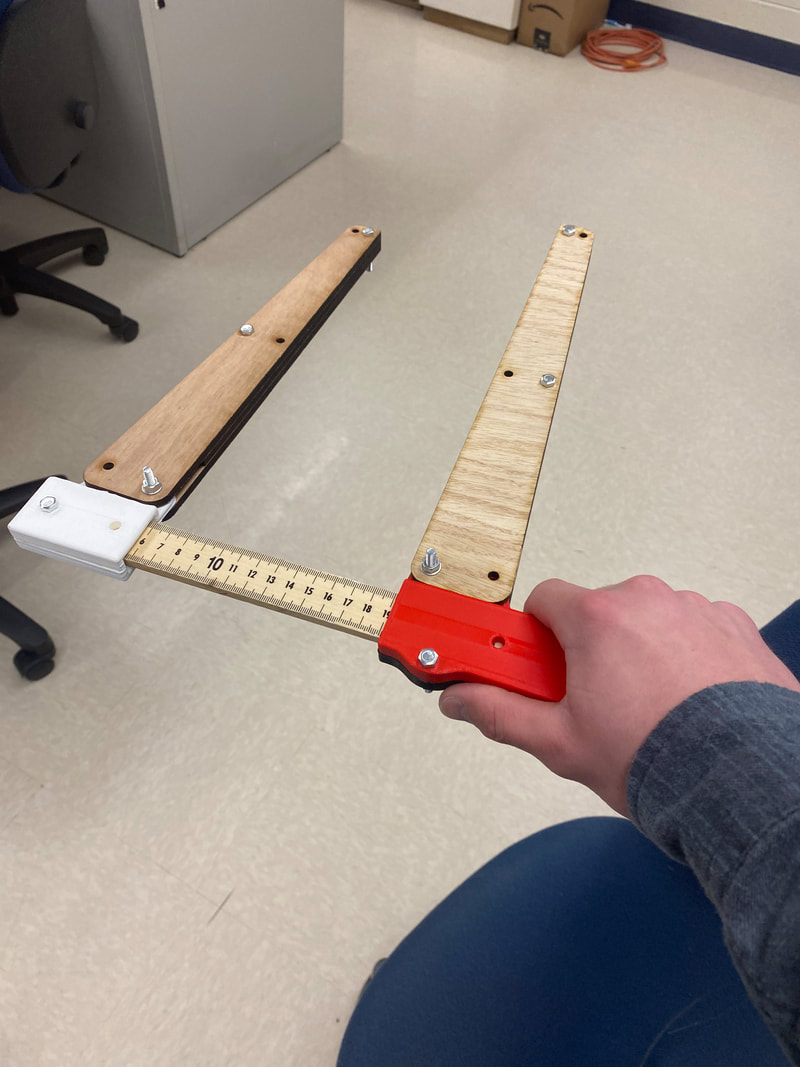
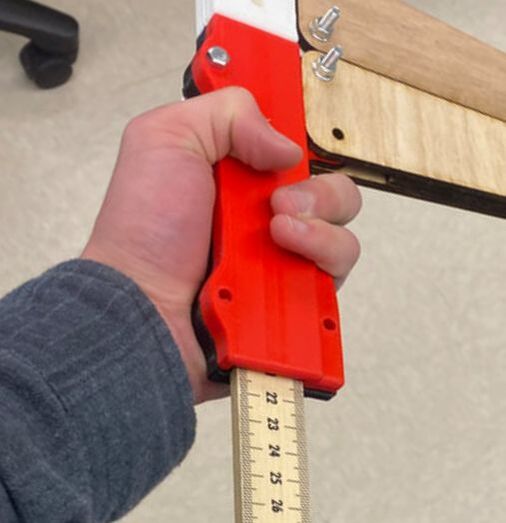
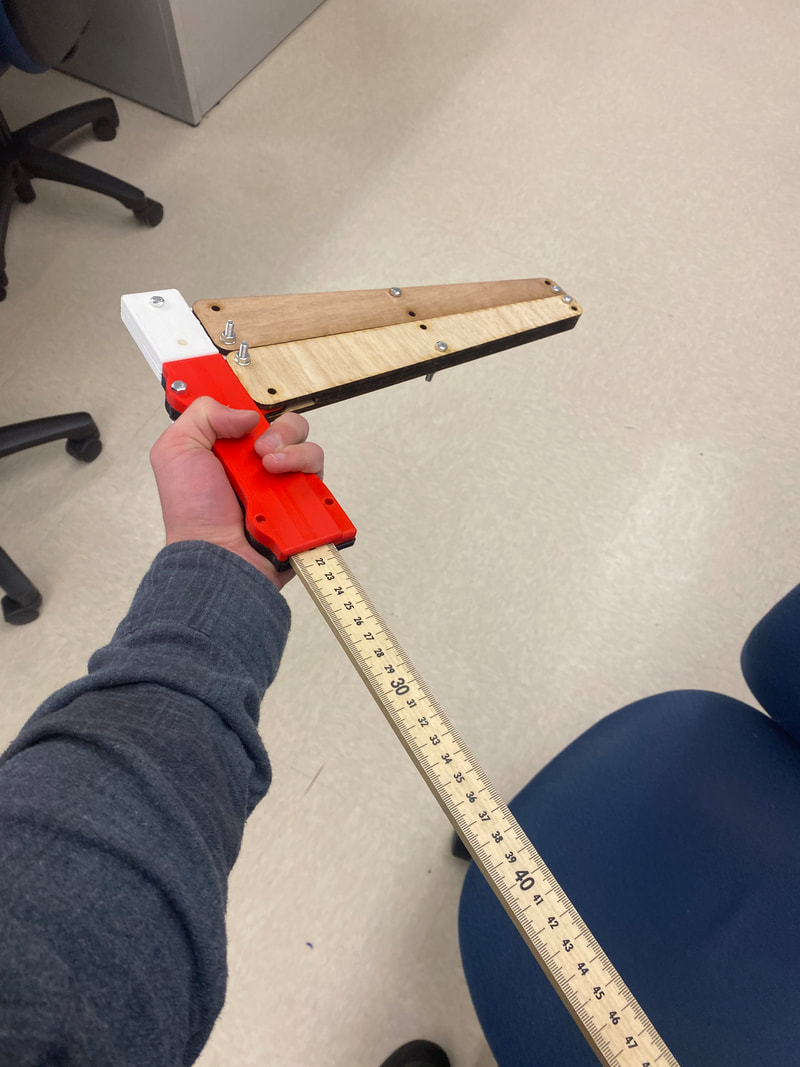
For the handles, I first mirrored the Jaw and Channel I designed for the Fixed side. From there, it was a matter of creating a shape that I thought looked comfortable to hold and figuring out how to secure the two two halves together. In the far right photo, the final version of the handle, fixed blade, and outside of the jaw are visible.
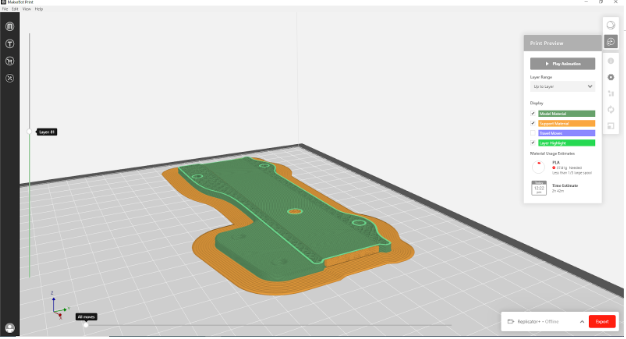
Second Print - Handle Scales
|
|
The scales for the handle came out almost as good as they could possibly be. They didn't warp almost at all, but the holes I designed needed to be drilled out to fit the bolts. The support material was also very hard to get off, and I had to melt the support with a lighter until it came off with less effort. The piece was a little hard to slide on the ruler, but it held tight and wasn't unbearable.
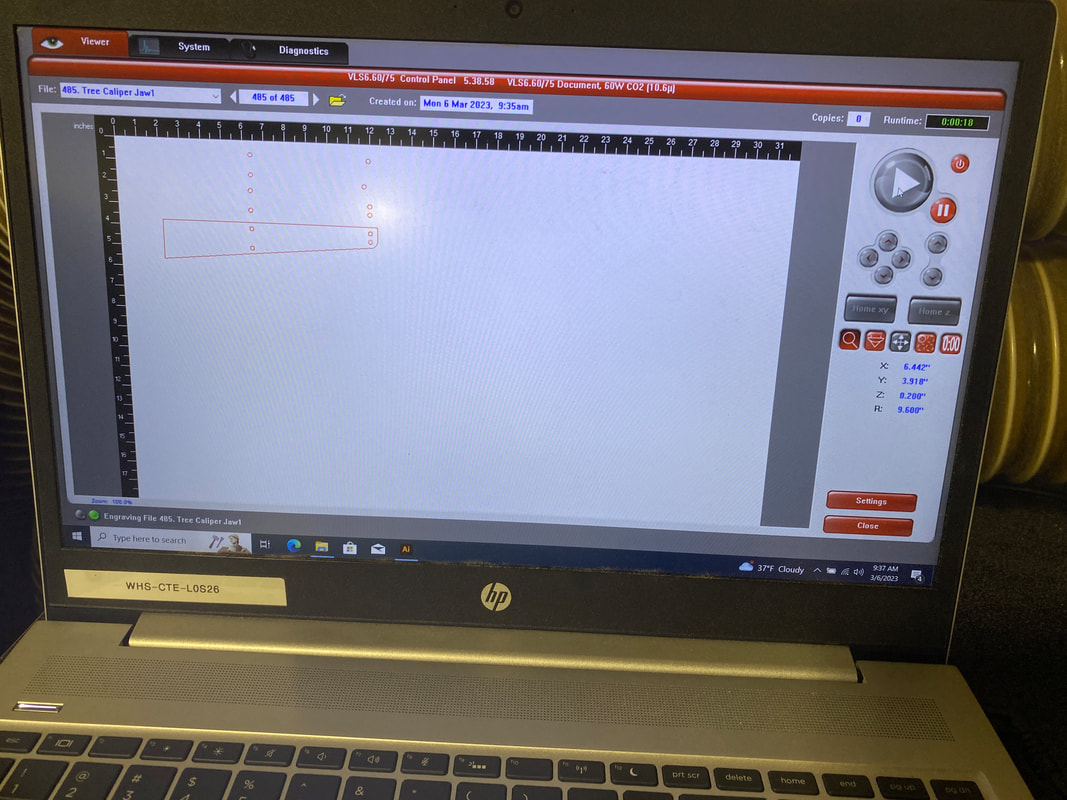
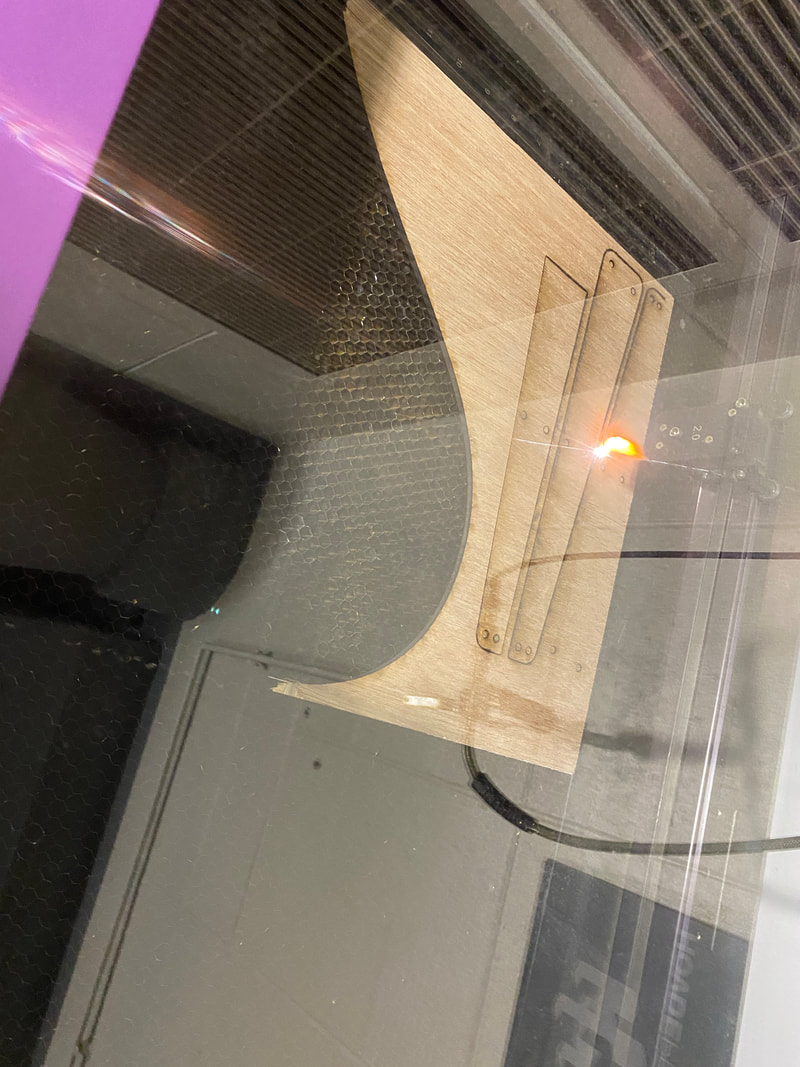
Laser Cut Jaws
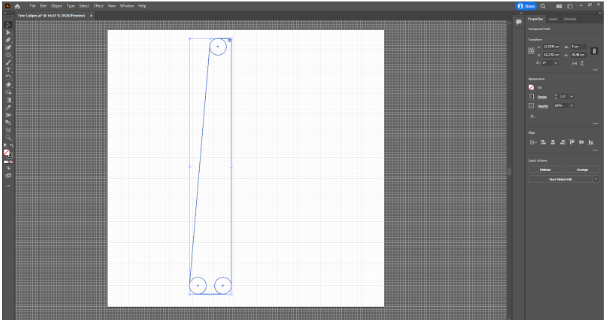
For the jaws, I originally struggled with illustrator because I didn't know how to create the outline I had in Onshape in illustrator. Mr. Willauer helped and showed me how to import and image of the onshape file, which could then be made into an outline that the laser cutter could follow. After duplicating and arranging that original image until I had 4 outside and 2 middle pieces, I moved to the laser and cut it out of wood. These were secured together by bolts, but can be riveted in the final design.
|
|
Final Product
|
|
This unit taught me a lot about overcoming challenges common in 3D printing - like warping and generally less-than-par quality that happens sometimes in additive manufacturing. It also taught me a fair amount about using different types of media, such as laser cutting and 3d printing, in one final product and what it can take to create something that works with those different pieces. It was good to get experience with the printers and laser cutting now too, since my final product will contain both processes and knowing how they work will help expedite that process.
