Presearch
|
|
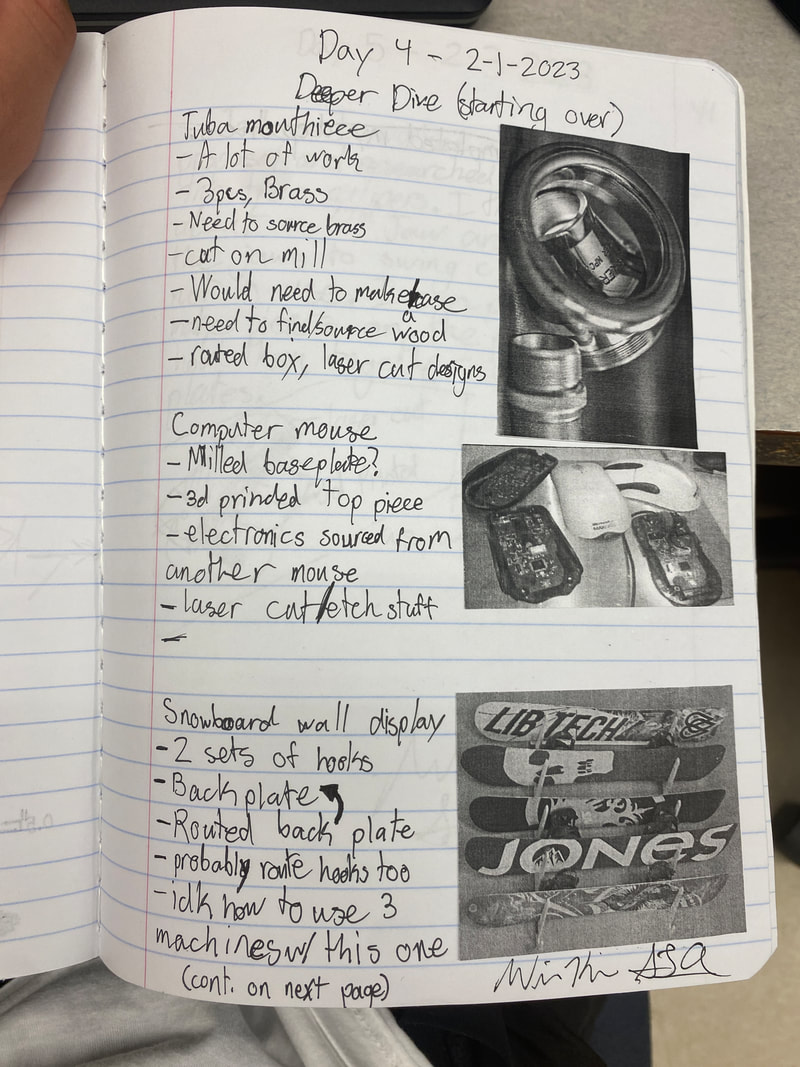
3D Printed Mouthpieces
These mouthpieces are something I've tinkered with on my own over the summer, and I came into this class wanting to make brass versions on a CNC mill or lathe. However, I soon realized that if I wanted to make the decorative box as good as it could be, it would take a lot more time, and the 3D printed ones would have to do. Here's how I made them:
|
In onshape, I created an outline of the mouthpiece part I wanted. Since I already had dimensions that I used for the press-fit sections, I imported a previous model of a mouthpiece to constrain the new design to and make sure they fit. Using the "revolve" function, that 2D sketch became the completed piece.
|
|
|
Slicing the mouthpieces (Or prepping them to go on a 3D printer) was the hardest part of the whole process. At home, I've messed around with my printer and know what makes a good product, but here, it's way different, and Makerbot does everything differently than Creality, the software I use at home.
|
|
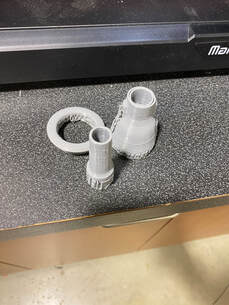
It took a few tries, but here's the final products!
|
|
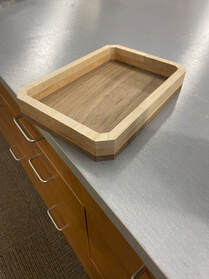
Routing the Box
This part was completely foreign to me. I didn't remember how to use Fusion360 to prepare the Gcode for the actual routing, and getting the machine to the point where it didn't want to break something in half was a challenge, especially when I decided to use different materials as well. Here's how it went:
|
Like always, the first step was to design the product. I decided it would be interesting to draw some inspiration from another hobby - snowboarding.
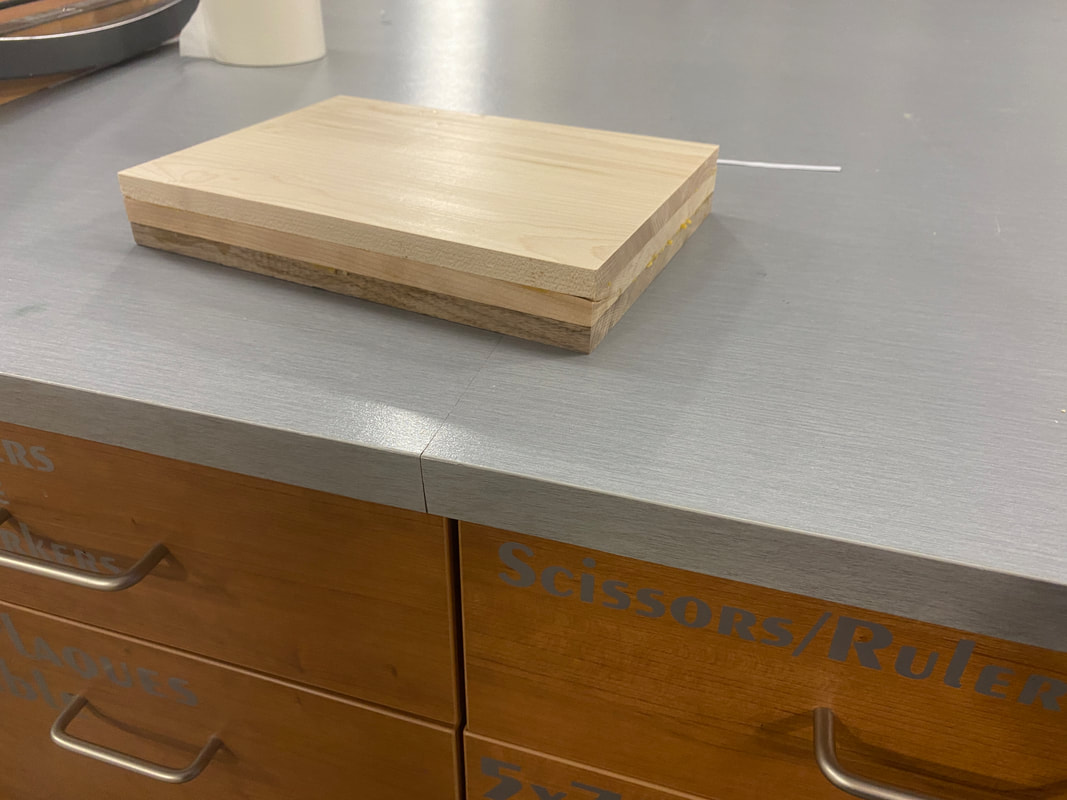
In the past, I've looked into what it would take to build a board from scratch, and at one point I wanted to do it for my Big Idea project. The inspiration I took is from how the core of a snowboard is built. They use multiple layers of different woods to bring out different characteristics in a board, but it also just looks pretty cool. I used this look in the wooden sections of my box. |
|
|
|
|
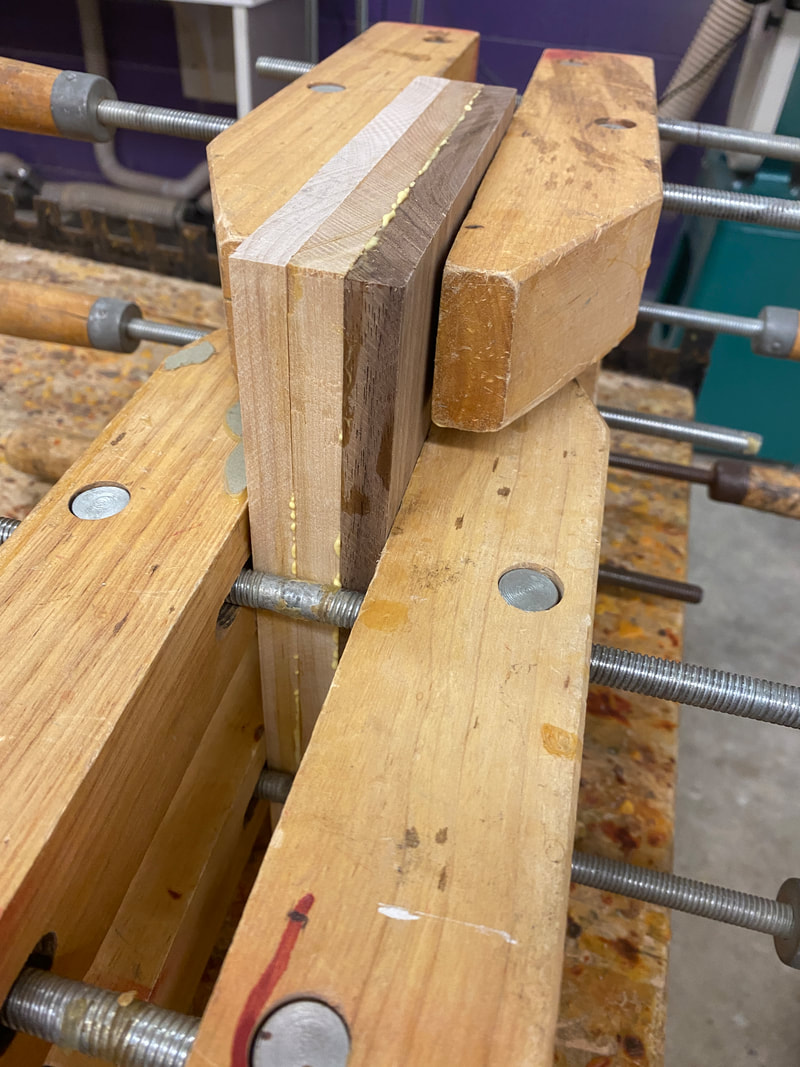
After the piece was modeled, we had to decide the best process for gluing and cutting the pieces. We ended up gluing the blanks for the different types of wood together first, and then later routing out the shape. In the glueup, you can see the layers of Walnut, Cherry, and White Maple and how it might look in the final product.
|
|
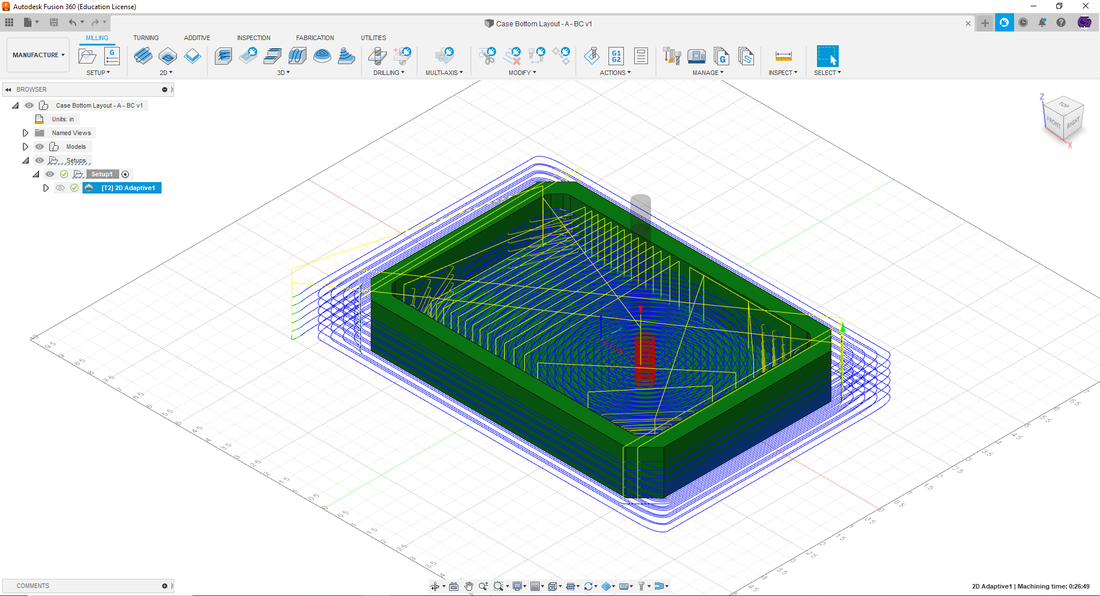
To prepare the GCode, I combined the different layers I modeled as different pieces because the block was now one solid piece instead of the different colors.
|
|

|
|
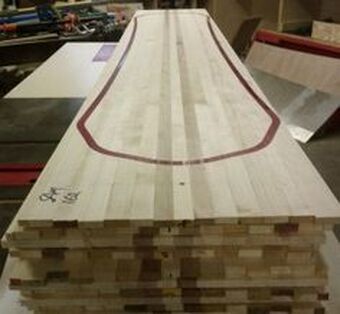
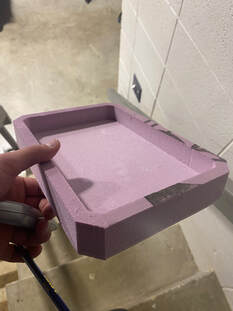
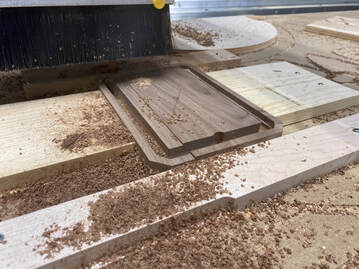
Before we cut the expensive wood piece, we had to test the file with a foam cutout. It went well, so the next class I moved on to the wood.
|
Using the Router
|
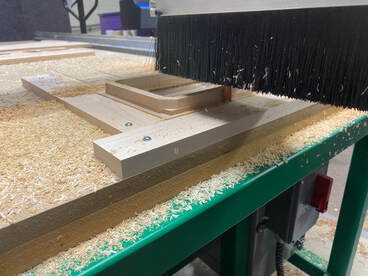
This took an extremely long time and in hindsight, I wish I would've set it up differently. It took over an hour to cut, and had to clear out the entire inside instead of cutting a portion in the center out.
|
|

|
|
|
|
I'm gonna gloss over it a bit, but I also did the same process for the top half of the top of the box. The only difference is I slowed down the movement speed and made the step down .125 inch instead of .25 inch.
|
|
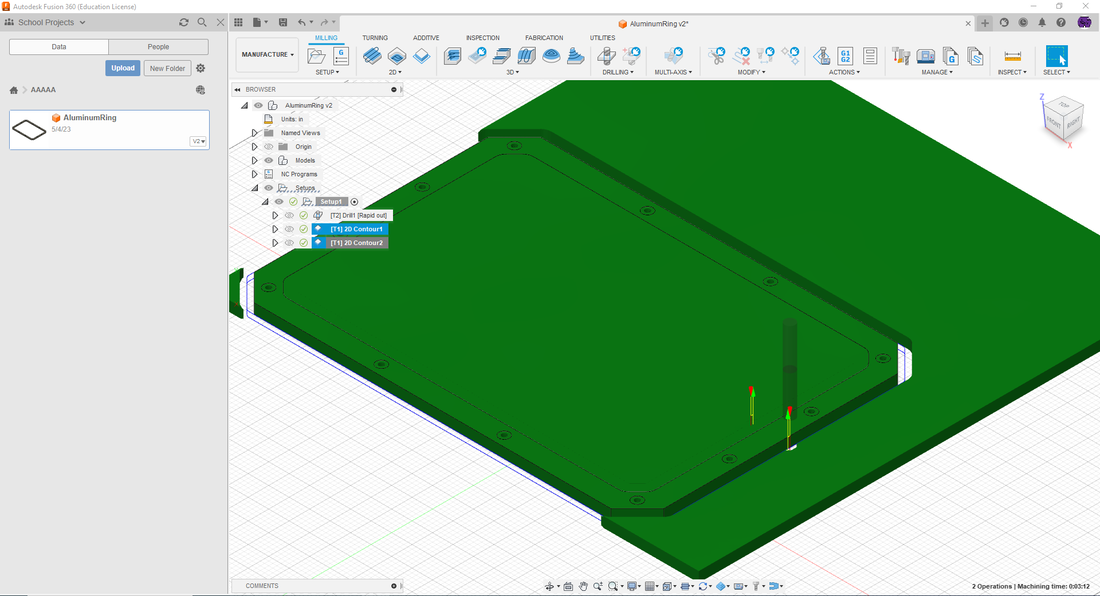
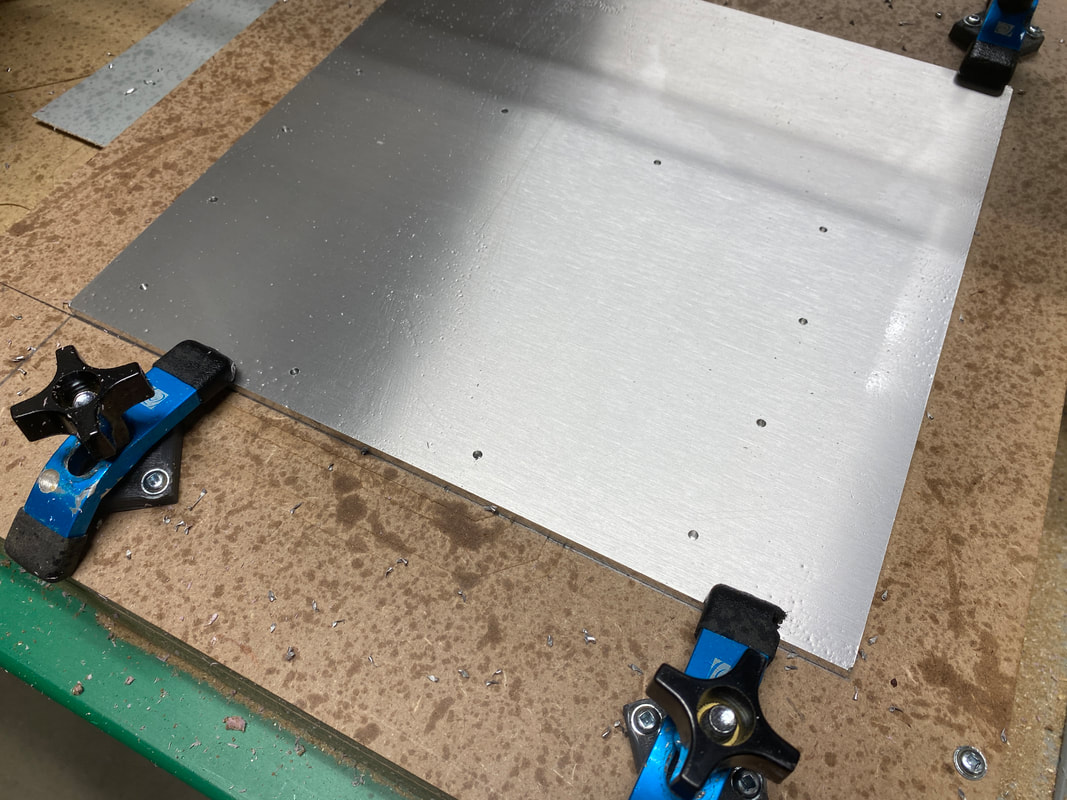
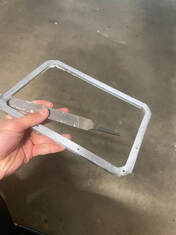
Aluminum Ring
This was the hardest part of the whole project. The first problem was finding a machine that would actually do it. The CNC Machine set up to cut metal (in the metals shop) wasn't working, so after a few classes of trying to ask Mr. France how to use the machine he said was operational but wouldn't help me actually use it, and eventually learning that the machine had some kind of problem that Mr. France didn't tell me about, we decided that we were going to give it a shot on the wood router.
|
This part was a little more in-depth than what I was used to. I had to do separate processes so we could move around the attachments or things holding it down, and the feeds and speeds were completely different to anything I've done before. After scouring the web for anything that related to CNC'ing aluminum, I still wasn't completely sure it would work.
|
|
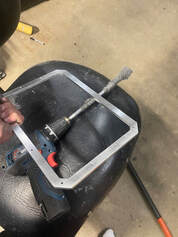
Cutting the Aluminum
|
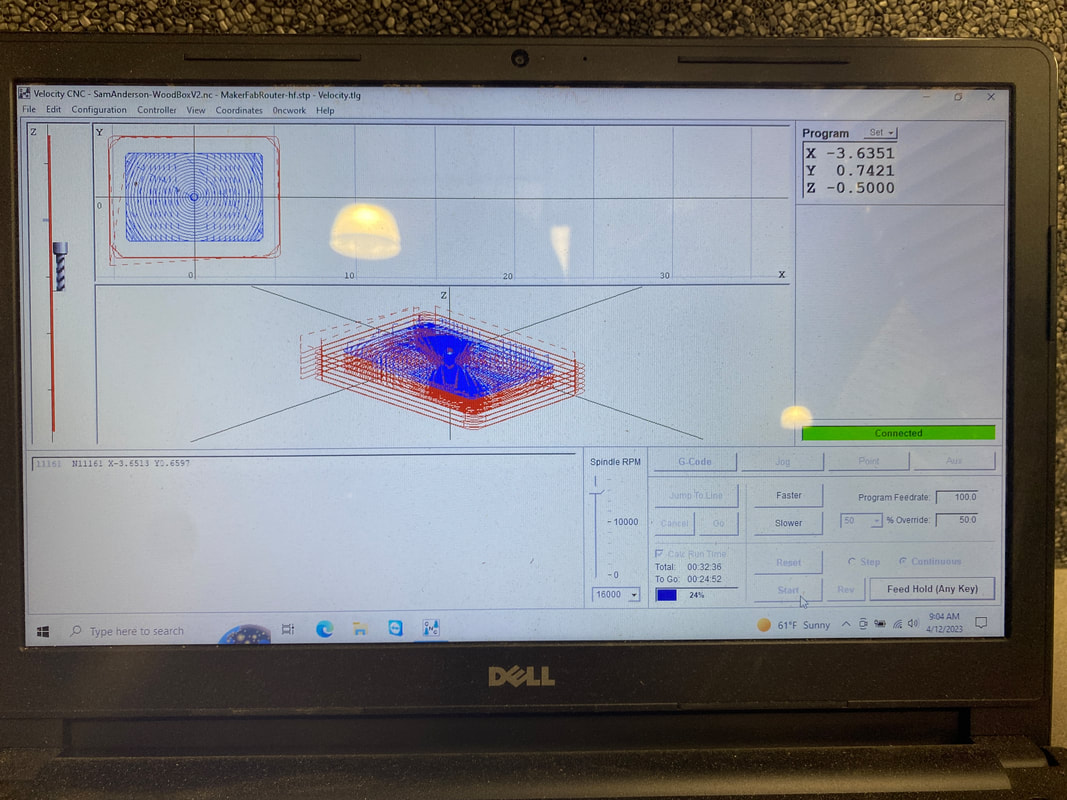
After testing the file with a piece of foam, we knew the file worked and might have a shot at the aluminum. It was time to give it a shot with the real thing.
|
|
|
Step 1: Holes
This was done with a regular 1/8" drill bit, and worked great. The holes were exactly where they were supposed to be.
|
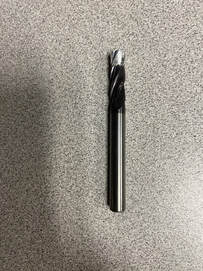
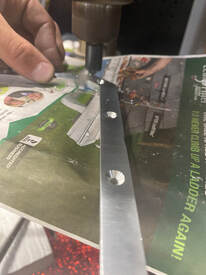
Step 2: Outside Outlines
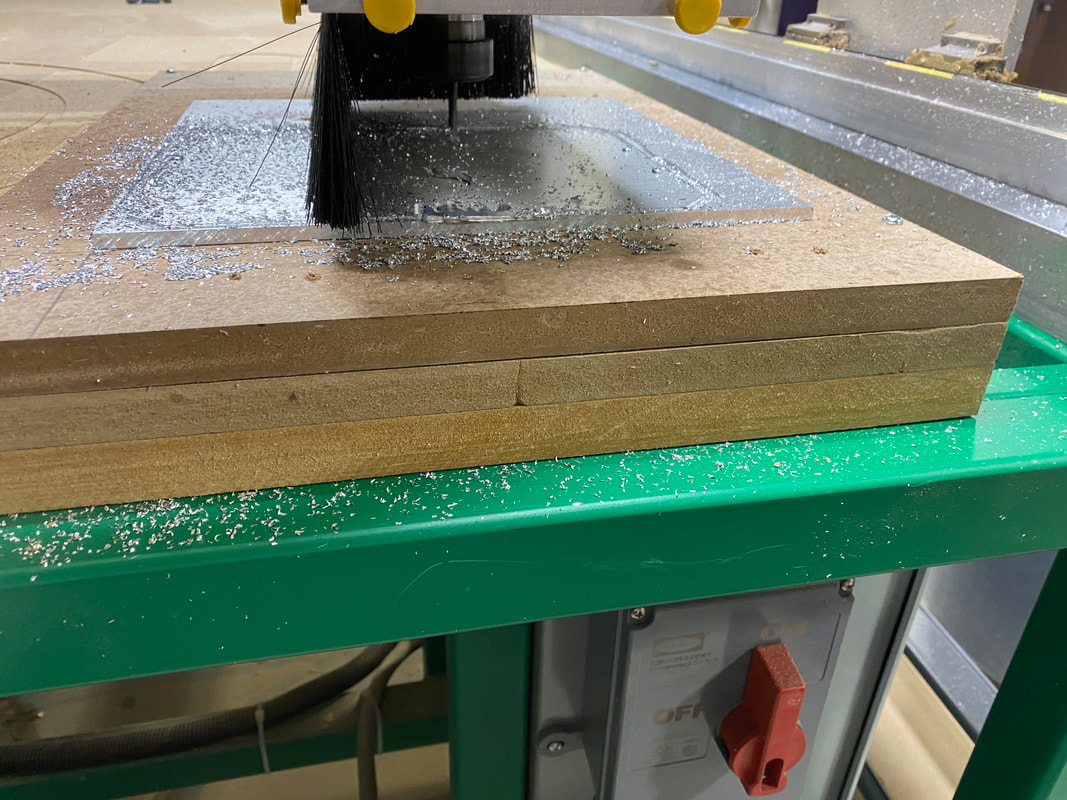
This part was challenging. Afte using those new holes to screw down the piece, we could remove the clamps so the outline could be cut. However, The 4 flute end mill that Mr. Willauer loaded up first had trouble clearing the chips and very quickly got clogged up with aluminum - almost melting its way through as it went. The end mill also had trouble with going as fast as it was, and we had to start the program from the top and re-zero the machine, which knocked the holes slightly out of alignment since it was nearly impossible to find the exact same zero point. After we switched to a 2 flute bit, the machine was able to make it through eventually.
|
Step 3: Inside Outlines
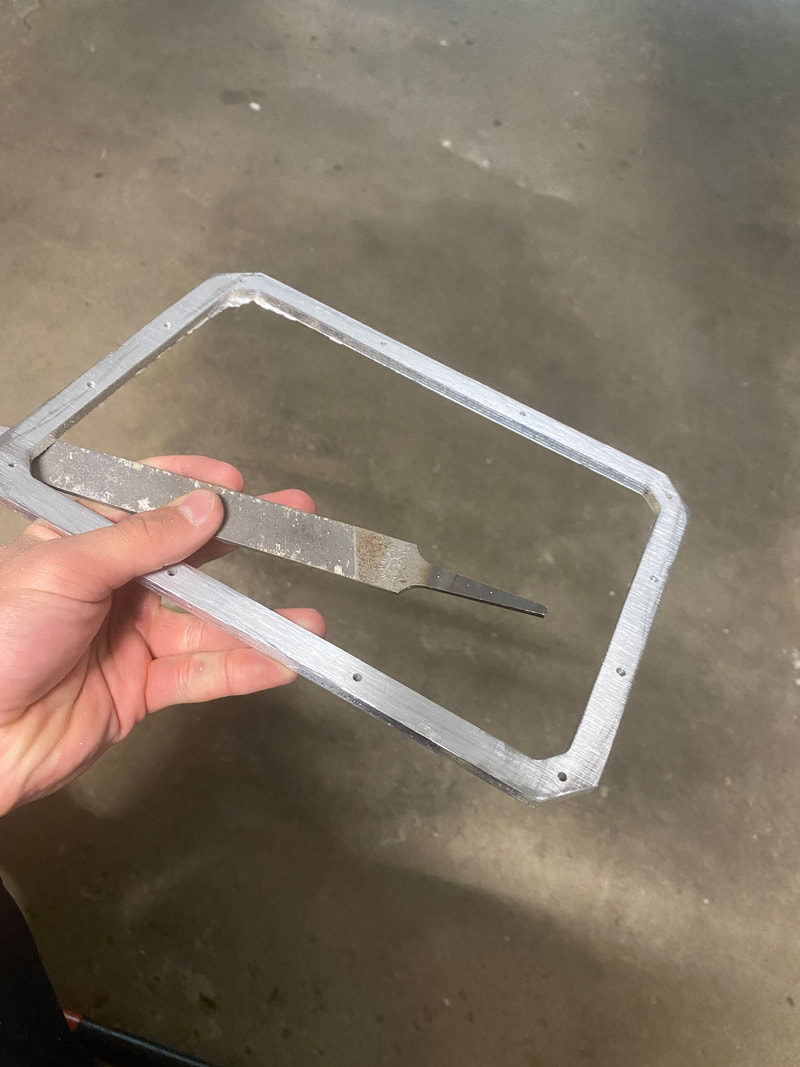
This was mostly a repeat of the outside, but once the piece was done, there were issues since the CNC didn't make it through the whole piece. I think it's because the bed was slightly out of level since it cut through on one side, but not the other.
|
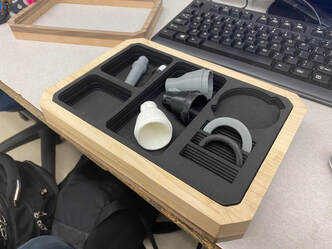
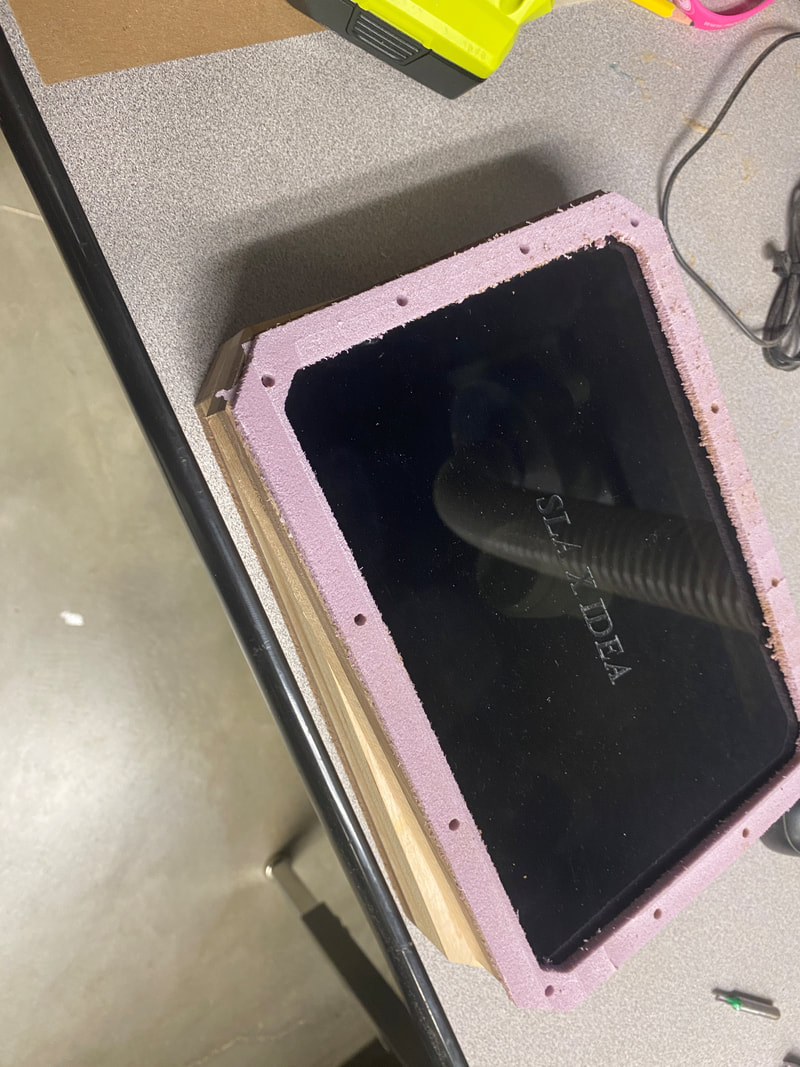
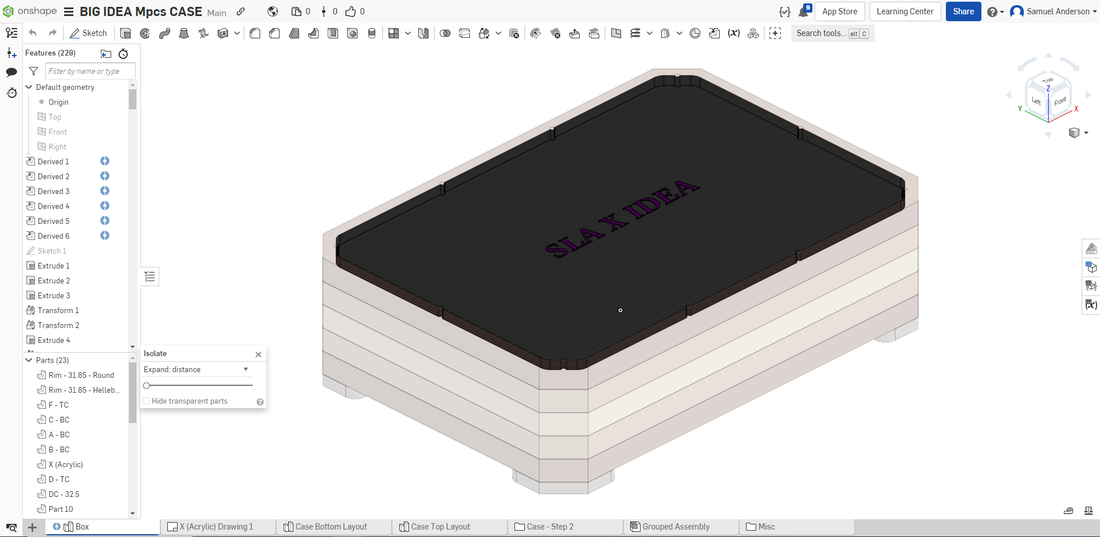
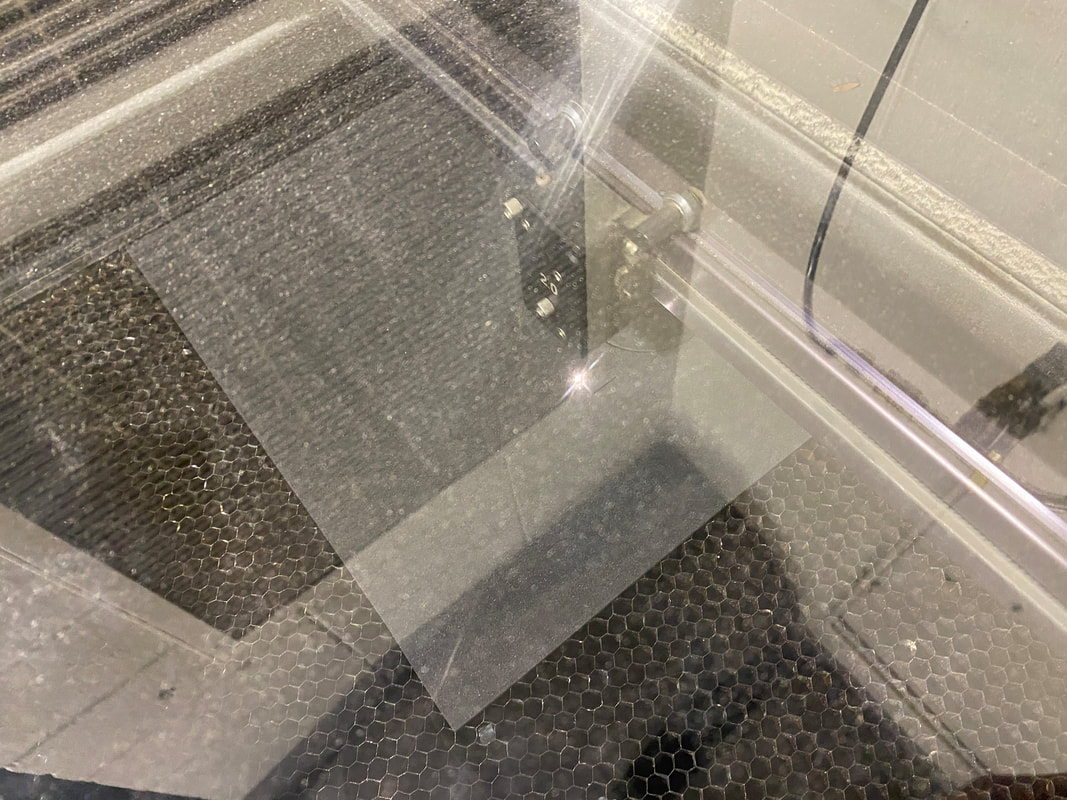
Laser Cut Cover & Foam Insert
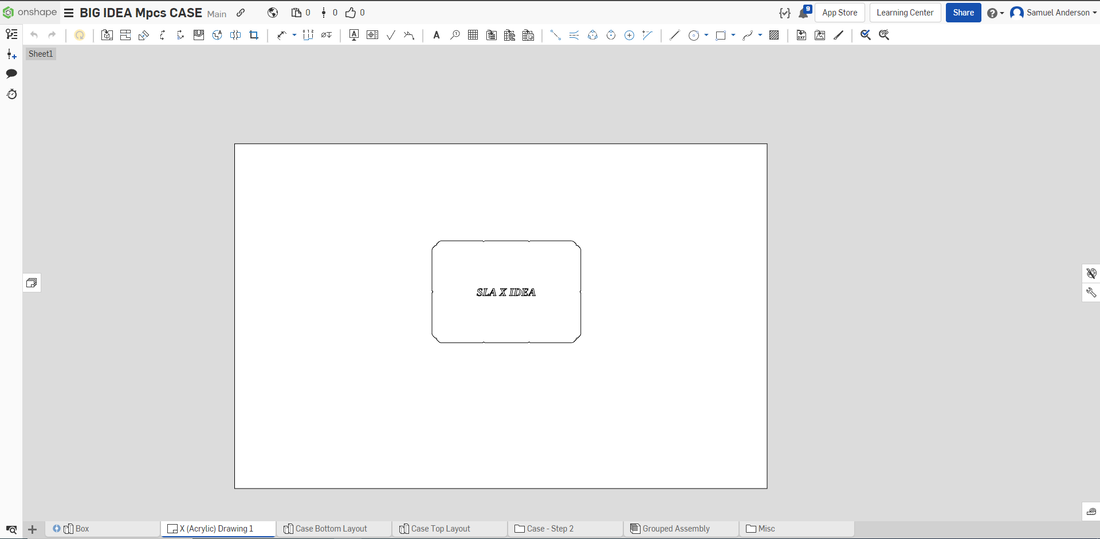
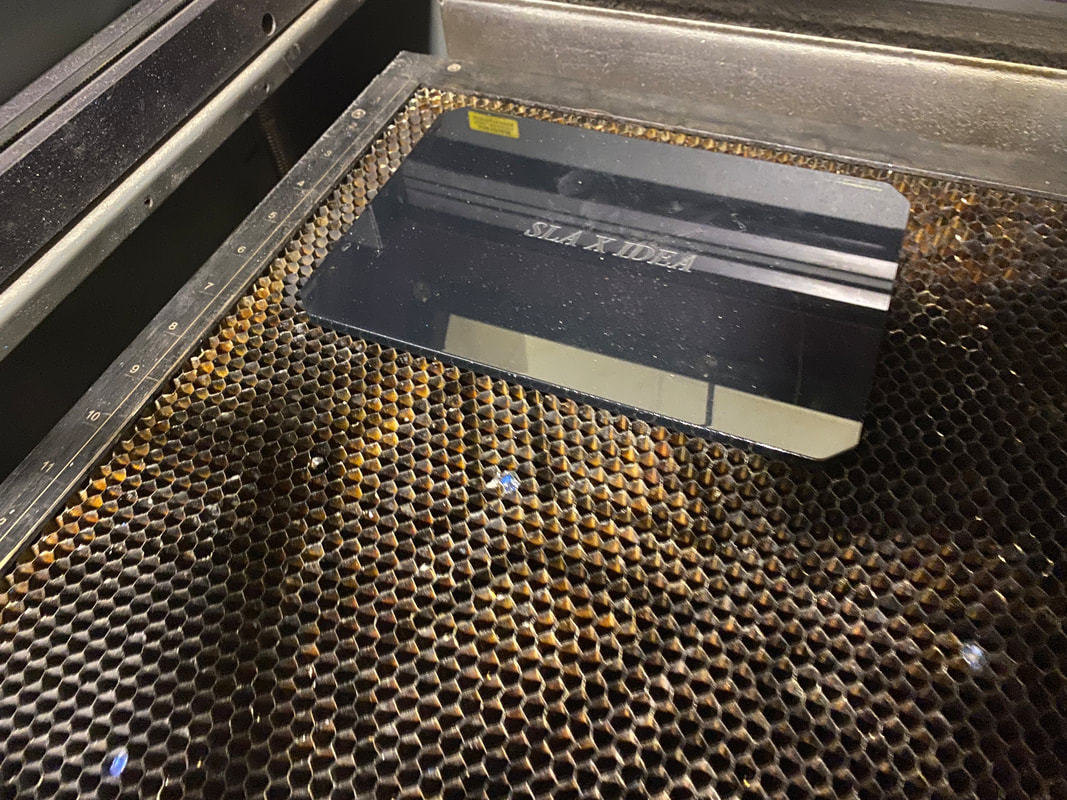
This was the easiest part of the whole process. Laser cutting anything is extremely easy once you get your settings right, and the design of the cover wasn't complicated at all. However, I also decided to do an EVA foam insert in the case to organize and protect everything. This was a challenge because of the amount of time it took. Since each 2mm layer was a little different, each one had to be put through Illustrator and the laser separately. Here's what happened:
|
The first step was cutting the cover. I imported my file into illustrator and set it up, then pretty much immediately went to the laser to cut out the piece.
|
|
|
|
Foam
|
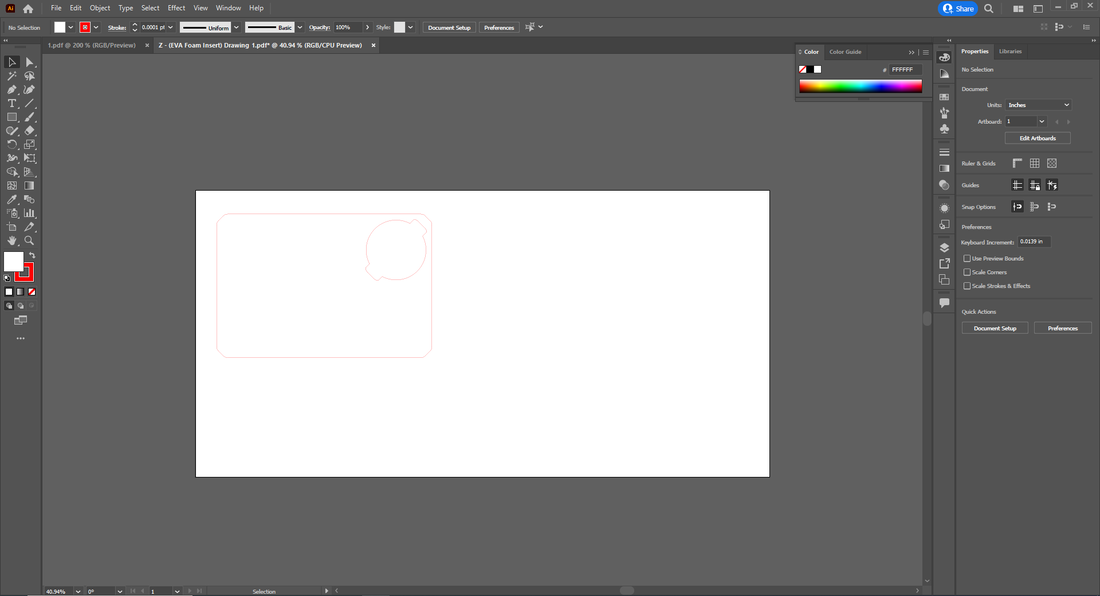
As I said earlier, this was the most time consuming part of the whole project. Each piece had to be put through illustrator and set up on the laser individually, and the 2mm EVA foam I bought came in 9"x12" sheets. Here's what each looked like in illustrator:
|
|

|
And in the laser software:
|
|
And finally, what the laser left me with was this:
|
|
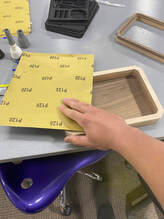
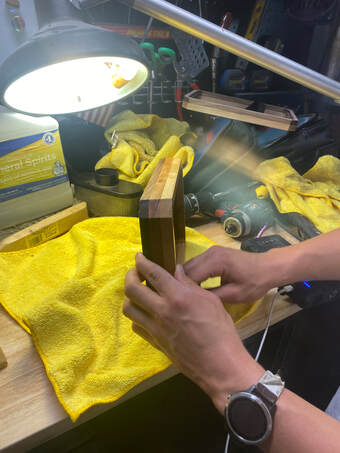
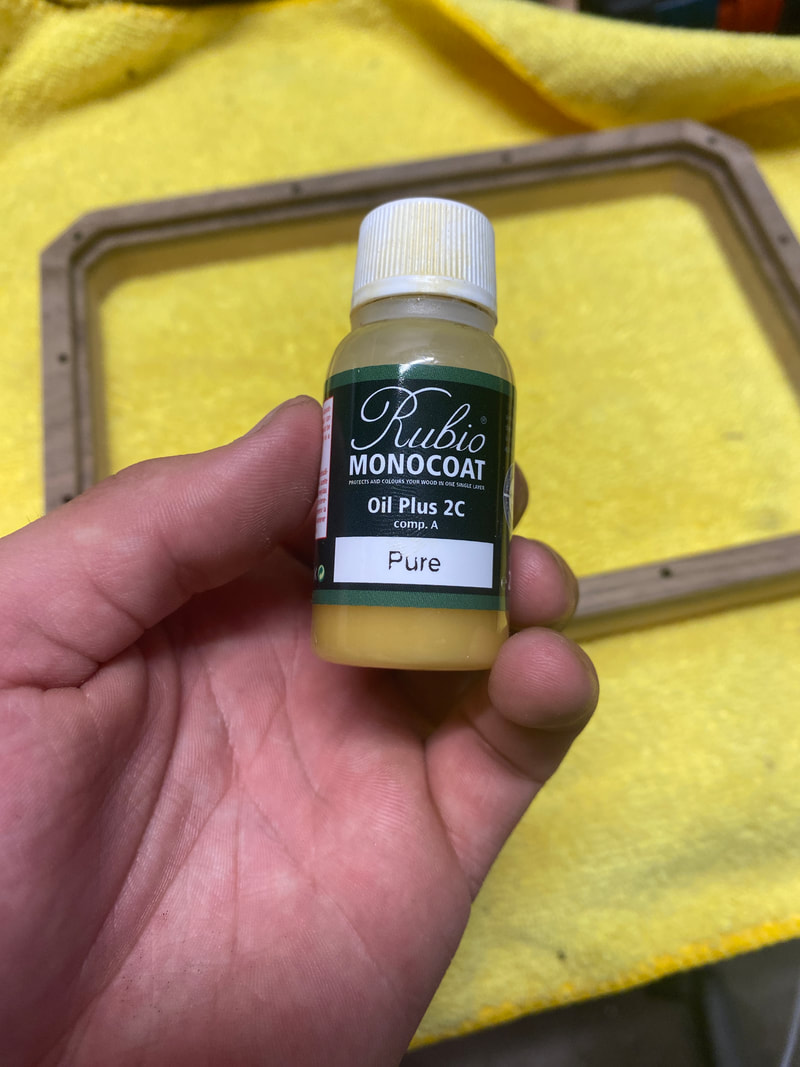
Finishing & Assembly
Finishing of the Wood Pieces
|
Sanding
|
|
|
|
Finishing
|
|
Hinges
|
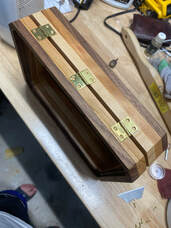
|
Finishing of the Aluminum
Filing |
|
|
Finishing (Steel wool wrapped on a drill bit) |
Chamfers |
|
|
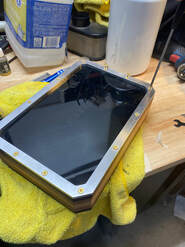
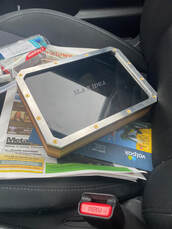
Final Assembly |
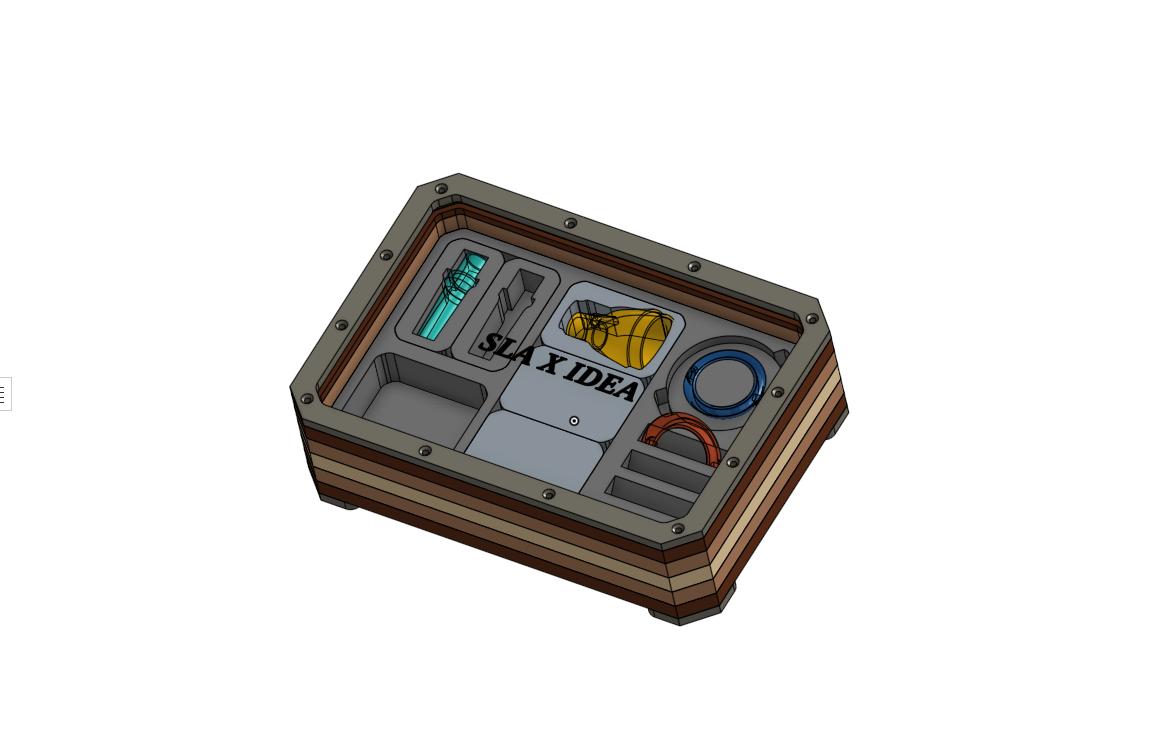
Summary
|
In this project, I learned a lot about how to make parts on different machines that fit and work together. It's more of a challenge than some might think to make a product using different materials and processes and ending with something that works, and it was amazing having access to all the different tools I used in making these things. It also taught me a lot about how to manage my time and that even when there isn't any pressure from deadlines, you need to make progress because sometimes it's not possible to do it all in a short period.
|

|
|
